Ingredients
Method
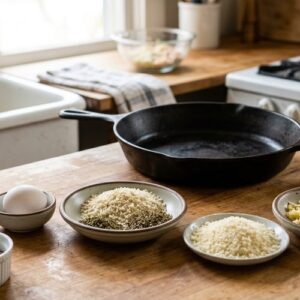
Step 1: Prepare Your Mise en Place and Preheat
- Start by setting your oven to 350°F and gathering all ingredients within arm's reach. This matters more than you'd think—when you're not searching for the basil or the bocconcini at the last minute, you can focus on the actual technique. Line a baking sheet with parchment paper so you have a clean station for your formed meatballs before searing. I always do this because it prevents sticking and gives you a staging area that keeps your counter organized.
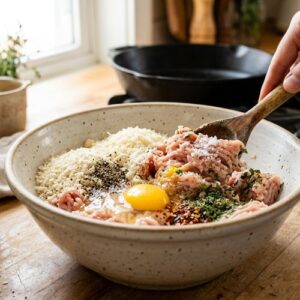
Step 2: Create the Flavor Foundation
- In a large mixing bowl, combine the ground chicken, grated Parmesan, panko breadcrumbs, egg, salt, pepper, dried oregano, dried parsley, and red pepper flakes. Use your hands to mix gently but thoroughly—this is crucial. Your hands are your best tool here because they distribute ingredients evenly without overworking the mixture. Overworking ground meat makes it dense and tough, which affects both texture and presentation. You want a mixture that's combined but still has a delicate, light structure. The mixture should feel barely held together, not packed.
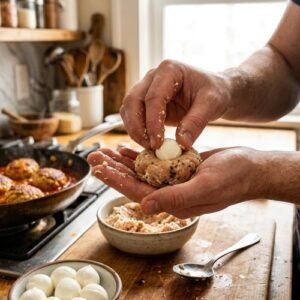
Step 3: Form the Meatballs with Cheese Centers
- This is where the magic happens. Scoop approximately 2 tablespoons of the chicken mixture into your palm, then press a mozzarella ball into the center. Working quickly so the cheese doesn't warm too much, wrap the chicken mixture completely around the cheese, sealing it fully so no white is visible on the outside. The meatballs should be golf-ball-sized—uniform shapes cook evenly and look more polished when presented. I use a small cookie scoop or my hands, rolling gently to create smooth, sphere-like shapes. Place each formed meatball on your prepared baking sheet.
Step 4: The Dredging Technique
- Pour the all-purpose flour into a shallow bowl. Working with one meatball at a time, roll it gently in the flour, then shake off excess. You want just a light coating—not a thick, flour-y layer. This thin coating is what creates that beautiful golden crust during searing without adding heaviness. A light touch here makes the difference between restaurant-quality and overdone.

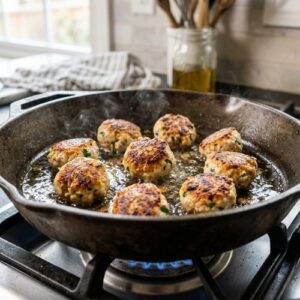
Step 5: Searing for That Golden Exterior
- Heat the olive oil in a large, heavy-bottomed skillet over medium-high heat. The oil should shimmer and just barely smoke—this temperature is essential for developing that golden-brown crust. Working in batches to avoid crowding (which steams instead of sears), carefully add half the meatballs to the hot oil. Let them sit undisturbed for 2-3 minutes to develop color, then gently roll them with a spoon or wooden utensil to brown another side. Continue this process for 3-4 minutes total until all sides are beautifully golden-brown. This searing step is where presentation magic happens. That caramelized exterior doesn't just taste incredible—it signals quality and care to your guests before they ever taste it. Remove these meatballs to a clean plate, then repeat the searing process with the remaining meatballs. Don't skip this step or rush through it. The time invested here creates the visual impact that makes people stop and stare.
Step 6: The Marinara Bath and Oven Finish
- Pour the marinara sauce into the same skillet you used for searing. This captures all those beautiful browned bits (called fond) that add incredible depth. Nestle all the browned meatballs into the sauce—they should be partially submerged, sitting among the red sauce like jewels. Transfer the entire skillet to your preheated 350°F oven and bake for 15-20 minutes, until the meatballs are cooked through and the sauce is gently bubbling around the edges. The oven finish is gentle and even. It brings everything to temperature without further browning the exterior, which would create a crust that's too thick. About halfway through baking, you might gently stir to ensure even cooking, but be careful not to damage those beautiful golden exteriors.
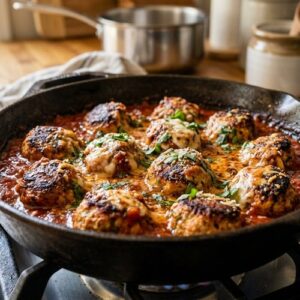
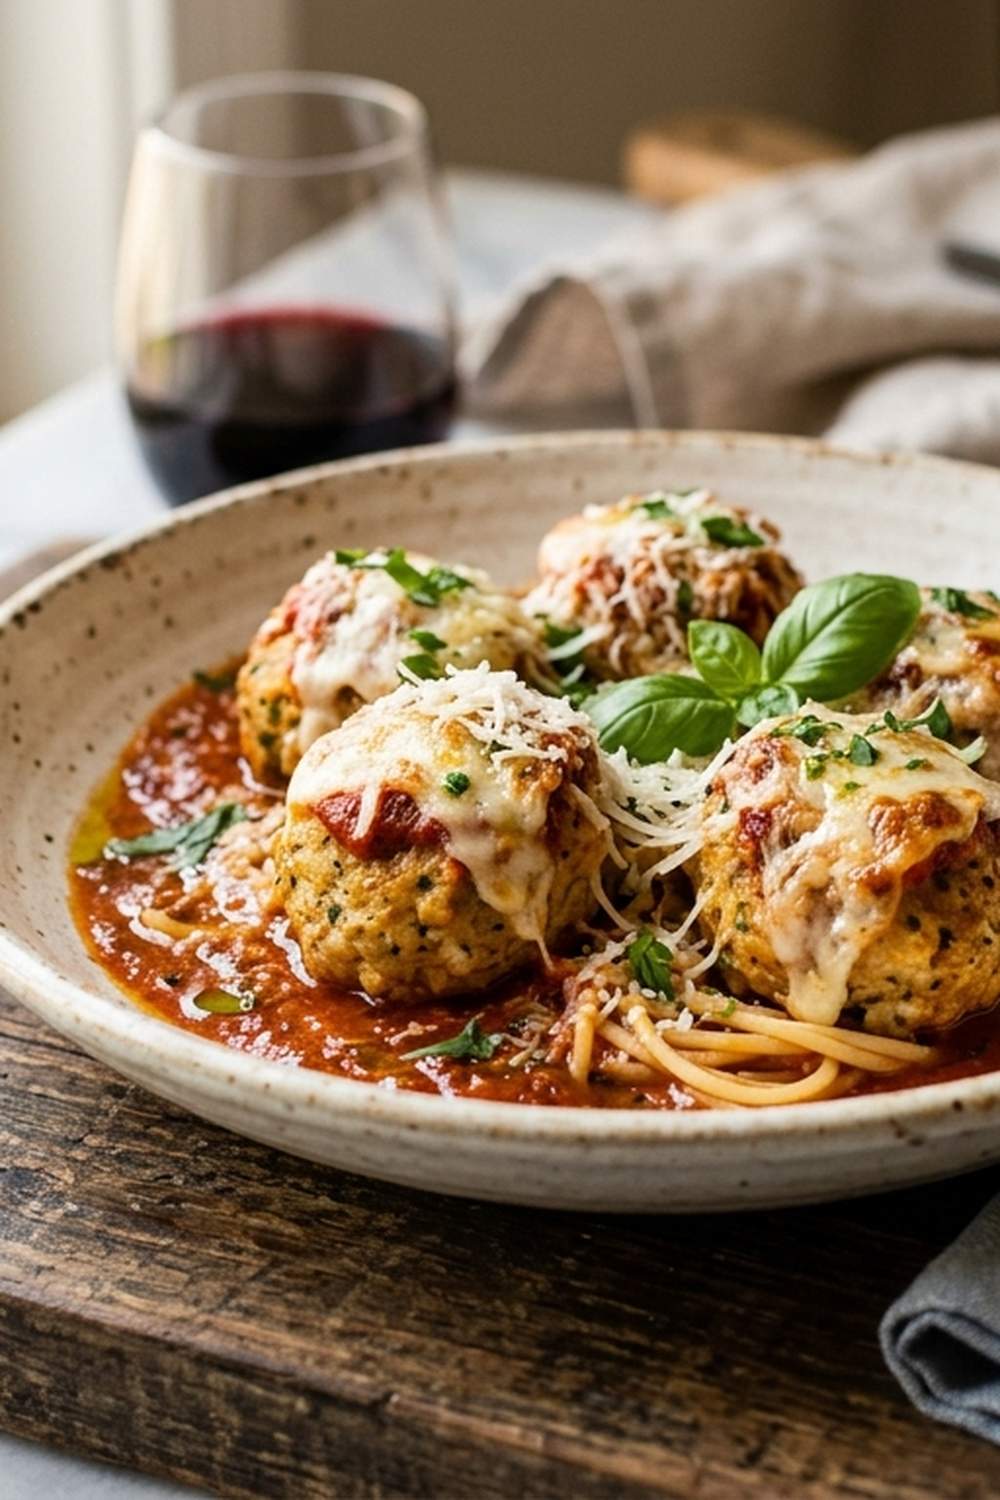
Step 7: The Final Garnish and Service
- This is the moment presentation becomes reality. Remove from the oven and immediately tear fresh basil leaves over the top while the dish is still steaming. The heat will slightly wilt the basil while releasing its oils, creating an aromatic moment that's frankly irresistible. If using lemon zest, add it now for brightness and visual interest. Serve immediately in the skillet or transfer to a serving dish that maintains the rustic beauty—the warmth, the vibrant colors, the steam rising up.

Notes
- Capture the moment immediately after plating - The steam rising from the marinara and the glossy, fresh appearance of the basil last only minutes. Shoot within 2-3 minutes of finishing the dish when the visual impact is strongest. The warmth creates a living quality that stills shots can't replicate.
- Use natural side or window light - Position your dish near a window with indirect light. This golden, diffused light makes the golden-brown meatballs absolutely glow while highlighting the vibrant red sauce beneath. Avoid harsh overhead lighting or direct sun, which creates unflattering shadows and washes out colors.
- Shoot from a 45-degree angle - This angle captures the height of the meatballs, the sauce, and the garnish simultaneously. It's more interesting than straight-overhead and shows the dish's dimensionality. Move around to find the angle where the light hits the meatballs' curved surfaces most beautifully.
- Include context sparingly - A linen napkin, fresh basil leaves scattered nearby, or a small glass of wine in the background adds story without cluttering the shot. The meatballs should be the star, with supporting elements that enhance rather than distract.
- Capture the cross-section moment - If you're shooting content, get a photo of someone cutting into a meatball so the melted mozzarella center is visible. This is the 'wow' moment that stops scrollers and makes people want to make this recipe immediately.