Ingredients
Method
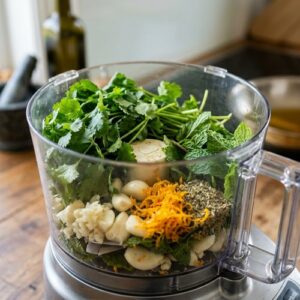
Step 1: Prepare Your Marinade Base
- Add your fresh cilantro, minced garlic, fresh mint, orange zest, and oregano to the bowl of a food processor. Pulse until the fresh herbs break down into small, visible pieces—you're aiming for roughly the texture of coarse sand. This step is crucial because you want the herb particles small enough to coat the chicken evenly, but not so pulverized that they become paste and lose their fresh character. I recommend pulsing rather than continuously blending because continuous blending oxidizes the herbs and can turn them dark and bitter. Think of it as gentle encouragement rather than aggressive chopping. This takes about 8-10 pulses in most food processors.
Step 2: Create the Liquid Component
- Pour your freshly squeezed orange juice, lime juice, and cumin into a small bowl and whisk together. This whisking step does two important things: it helps dissolve the cumin evenly throughout the liquid so you don't get bitter pockets where it's concentrated, and it begins combining the flavors rather than keeping them separate. Let this mixture sit for just one minute—this sounds small, but it allows the cumin to bloom and release its essential oils into the juice. This blooming step is what transforms ordinary citrus into something with real depth and warmth.

Step 3: Combine Into Final Marinade
- Return the herb mixture from your food processor to a large mixing bowl. Add the oil and cumin-citrus mixture together and stir thoroughly. This is the moment where your marinade transforms from separate components into something cohesive. The oil won't completely emulsify with the juice—it will separate slightly—and that's exactly what you want. This separation actually helps the flavors work on the chicken in different ways. Add your salt and pepper, then taste the marinade. A proper tasting here is essential—you should taste bright citrus first, then warm cumin, then the fresh herb notes. If it tastes too sharp, add a pinch more salt, which rounds out citrus acidity. If it tastes flat, add another squeeze of lime juice.

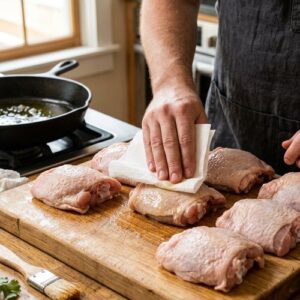
Step 4: Prepare Your Chicken
- Pat your chicken thighs dry with paper towels. This step matters more than people realize—excess moisture on the surface prevents the marinade from making good contact with the meat. You don't need to be obsessive about it, just remove the obvious moisture. Place the dried chicken pieces in a large bowl or a gallon-sized zip-top bag. If using a zip-top bag, I prefer this method for storage in the refrigerator because it takes up minimal space and you can rotate the chicken easily. If using a bowl, choose one large enough that you can cover it loosely with plastic wrap.
Step 5: Marinate With Intention
- Pour your marinade over the chicken and gently toss to coat every piece. Make sure the herb particles are distributed around all the chicken, not just settled on the bottom. If using a zip-top bag, seal it carefully and gently massage the bag to coat everything. If using a bowl, cover with plastic wrap. Now here's where patience becomes your greatest ingredient: refrigerate for at least 12 hours, though I genuinely prefer 24 to 36 hours. During this time, the acid in the citrus juice slowly tenderizes the chicken while the herbs and spices penetrate the meat. This isn't passive waiting—this is active flavor development happening at a molecular level. If you're using a zip-top bag, flip it over halfway through the marinating time. If you're using a bowl, gently stir once halfway through. This ensures even exposure to the marinade.

Step 6: Bring to Temperature Before Cooking
- About 30 minutes before you plan to cook, remove your chicken from the refrigerator. This step is important because it allows the chicken to reach closer to room temperature, which ensures more even cooking. Cold chicken straight from the refrigerator will cook unevenly—the outside will brown before the inside reaches safe temperature. While the chicken is coming to temperature, prepare your cooking surface. For Colorado gatherings, I often use a grill, but you can also use a cast-iron skillet on the stovetop or a sheet pan in the oven at 425°F.

Step 7: Cook Until Golden and Cooked Through
- If grilling: Heat your grill to medium-high heat (about 375-400°F). Remove the chicken from the marinade, allowing excess marinade to drip back into the bowl—save this for basting. Place chicken skin-side down on the grill and cook for 6-7 minutes without moving it. Resist the urge to flip constantly; this is how you get that beautiful golden skin. Flip the chicken and cook for another 6-8 minutes, basting occasionally with the reserved marinade. The chicken is done when the thickest part (near the thigh bone) reaches 165°F on a meat thermometer. If using the oven method: Place marinated chicken skin-side up on a parchment-lined sheet pan. Roast at 425°F for 35-40 minutes, basting with reserved marinade halfway through cooking.

Step 8: Rest Before Serving
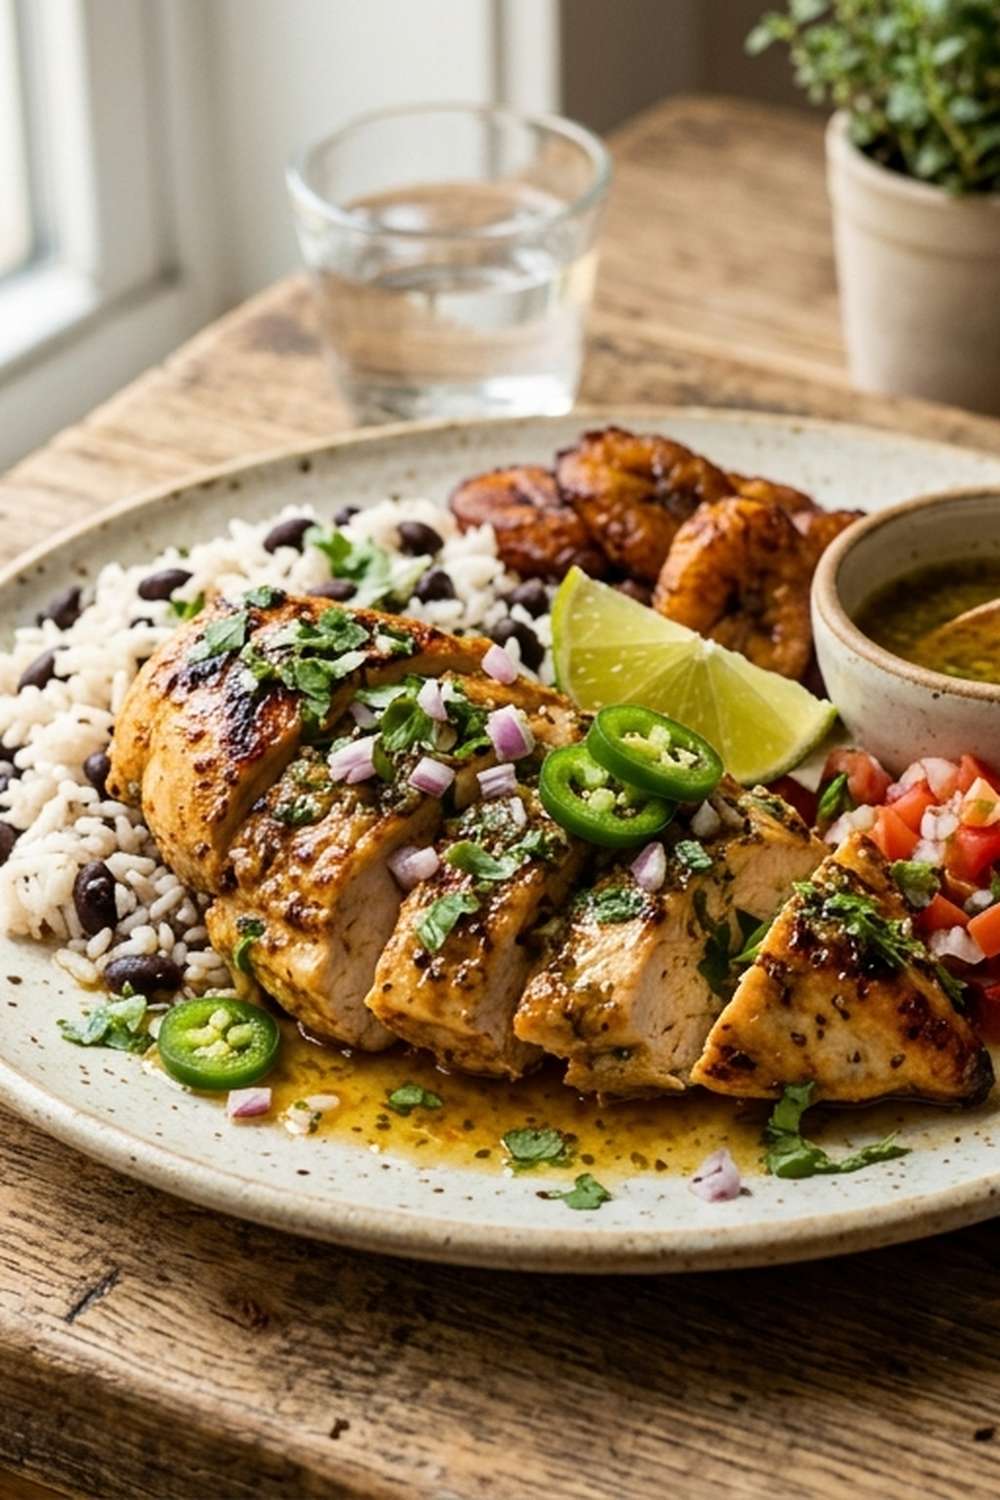
- Remove your chicken from heat and let it rest for 5 minutes before serving. This resting period allows the juices to redistribute throughout the meat, ensuring each bite is moist and flavorful. Serve with fresh orange wedges and a garnish of chopped cilantro.

Notes
- Mistake 1—Not patting the chicken dry before marinating: Excess moisture on the chicken surface prevents the marinade from making good contact with the meat. It takes 30 seconds and makes a noticeable difference in flavor absorption.
- Mistake 2—Marinating for too short a time: The minimum 12 hours is genuinely important. Less than that, and you don't get the full tenderizing and flavor benefit. I see people try to shortcut this and end up disappointed.
- Mistake 3—Using pre-squeezed or bottled juice: I understand convenience, but fresh citrus is genuinely one of the few places where this recipe requires a small effort. The difference in flavor is substantial.
- Mistake 4—Not bringing the chicken to room temperature before cooking: Cold chicken cooks unevenly. You'll get skin that's overcooked and meat that's undercooked. This 30-minute step prevents that.