Ingredients
Method
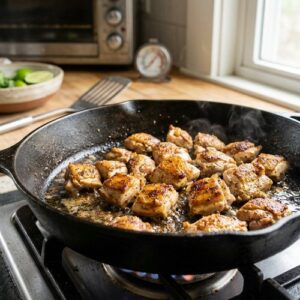
Step 1: Create Your Flavor Base
- Begin by preheating your oven to 375°F. While it warms, you're going to build the foundation of your filling. Grab a large skillet and place it over medium heat with just a touch of olive oil—about one tablespoon. Don't skip this step, as it prevents sticking and helps everything brown slightly, adding depth. Dice one medium onion and add it to your warm skillet. Let it sit for about three to four minutes, stirring occasionally. You're looking for that moment when the onion becomes translucent and slightly caramelized at the edges—this is when the natural sugars unlock and flavor deepens. This small step completely transforms the final dish.
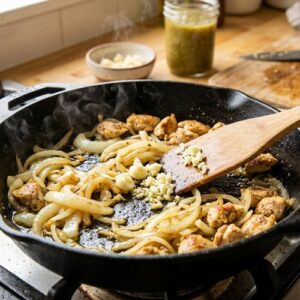
Step 2: Introduce the Aromatic Magic
- Once your onion reaches that beautiful translucent stage, add two minced garlic cloves. Here's where timing matters: cook the garlic for exactly 30 to 45 seconds. Any longer and you risk bitterness. Any shorter and it remains raw. You'll know it's perfect when the aroma fills your kitchen—that's your signal to turn off the heat immediately. This brief moment of garlic-cooking is essential in professional cooking. It mellows the harsh raw garlic flavor while infusing the oil with aromatic compounds that will permeate your entire dish. It's a small technique that yields outsized results.
Step 3: Build Your Filling Foundation
- Now comes the beautiful part—assembly. With the heat off, pour one-quarter cup of your green enchilada sauce directly into the warm skillet. Add the entire can of diced roasted green chiles, the three cups of shredded chicken, and one-half cup of your Monterey Jack cheese. Finally, add the three-quarter cup of sour cream. Stir everything together gently but thoroughly, making sure every bit of chicken gets coated in the creamy sauce. You're creating a filling that's cohesive, moist, and flavorful. Don't overmix—you want pieces of chile visible and distinct, not pulverized.
Step 4: Set Up Your Assembly Line
- Here's a professional tip from years of holiday hosting: organization prevents stress. Gather your prepared filling, your tortillas (flour or corn, whatever your family prefers), your baking dish, and the remaining enchilada sauce. Having everything within arm's reach means you'll work quickly and confidently, without that frantic searching for supplies mid-assembly. Spread a thin layer of green enchilada sauce across the bottom of your baking dish—just enough to coat it lightly. This prevents sticking and creates a flavorful base layer that will bubble up around your enchiladas during baking.
Step 5: Fill and Roll With Confidence
- Take one tortilla and fill it with approximately one-third cup of your chicken mixture—that's roughly a rounded ice cream scoop. Don't overfill; a common mistake is packing too much filling into each tortilla, which causes them to burst during baking and creates a messy presentation. Roll each tortilla gently but firmly, then place it seam-side down in your prepared baking dish. The seam-side down positioning helps everything stay together as it bakes. Continue with remaining tortillas until your filling is gone and your baking dish is filled with a neat row of enchiladas.

Step 6: Sauce and Top
- Pour the remaining enchilada sauce evenly over the top of your enchiladas, making sure every roll gets coverage. This is what creates that gorgeous, saucy presentation when you serve. Top everything with your remaining one cup of Monterey Jack cheese, distributing it evenly so every enchilada gets melty, bubbly goodness.
Step 7: Bake to Perfection
- Place your assembled baking dish in your preheated 375°F oven for approximately 20 minutes. You'll know it's done when the cheese is completely melted and the sauce is bubbling around the edges—you might see small bubbles breaking through the cheese surface, which is exactly what you want. This bubbling indicates the filling has heated through and the cheese has reached optimal meltiness. If your cheese still looks pale or flat after 20 minutes, give it another 5 minutes. Oven temperatures vary significantly, especially at higher Colorado elevations where I test my recipes. Don't go longer than 25-27 minutes total, as you want the filling hot but the tortillas still tender.

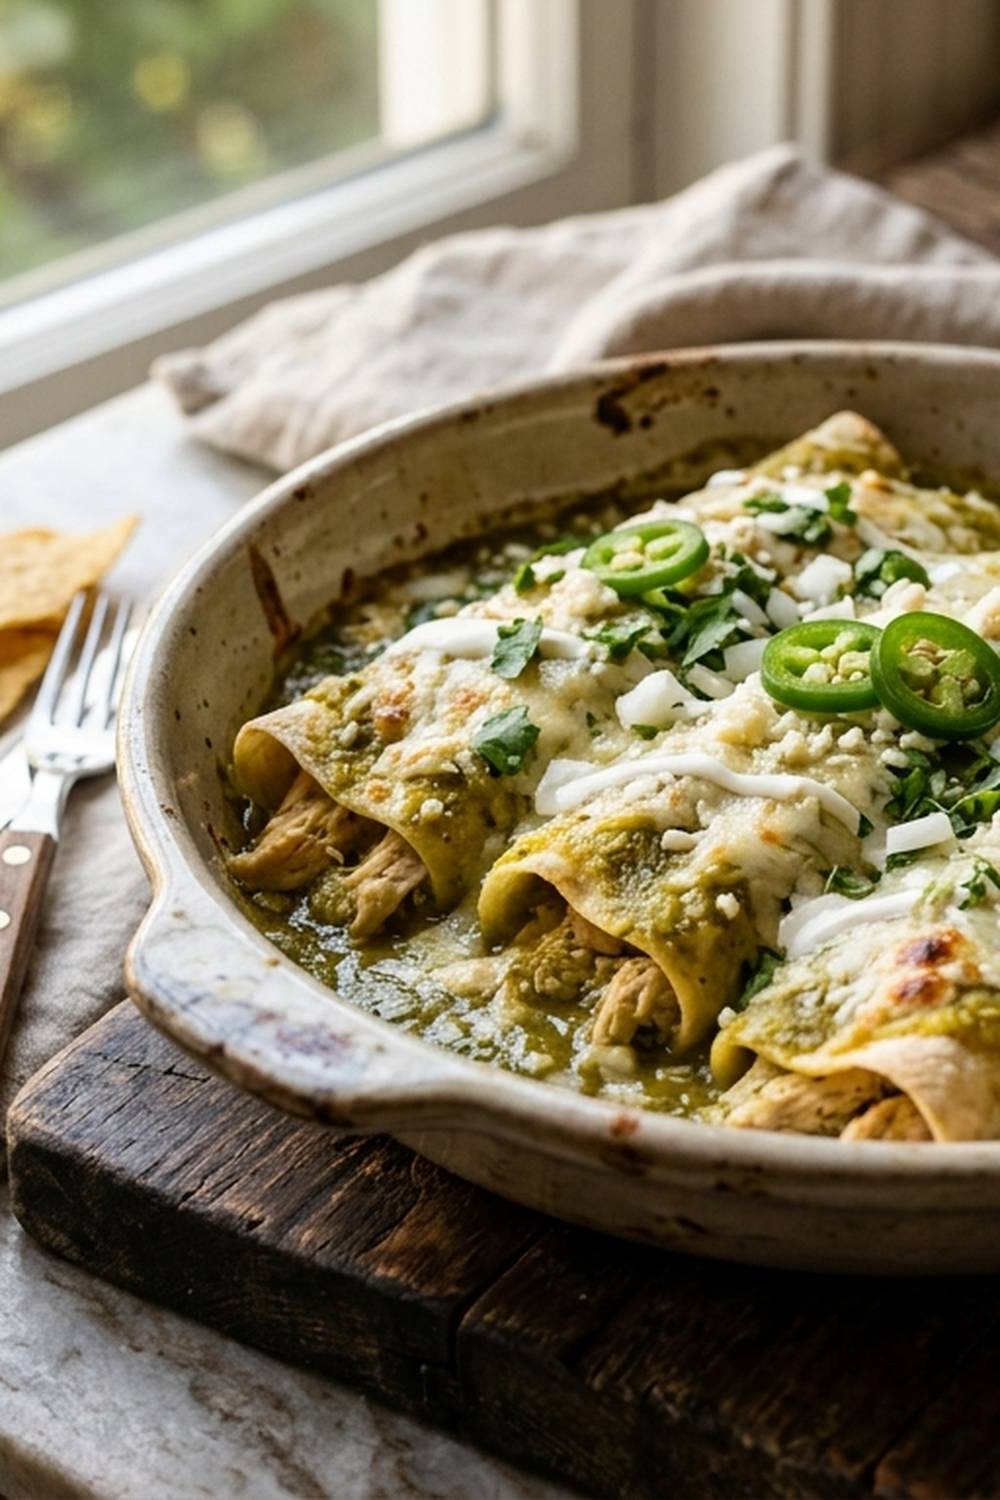
Step 8: Rest and Garnish
- Remove from the oven and let your enchiladas rest for five minutes before serving. This resting period allows the cheese to set slightly, making serving cleaner and more elegant. If you want to add a fresh flourish, sprinkle with chopped cilantro just before serving—it adds color and a bright herbal note that feels restaurant-quality.