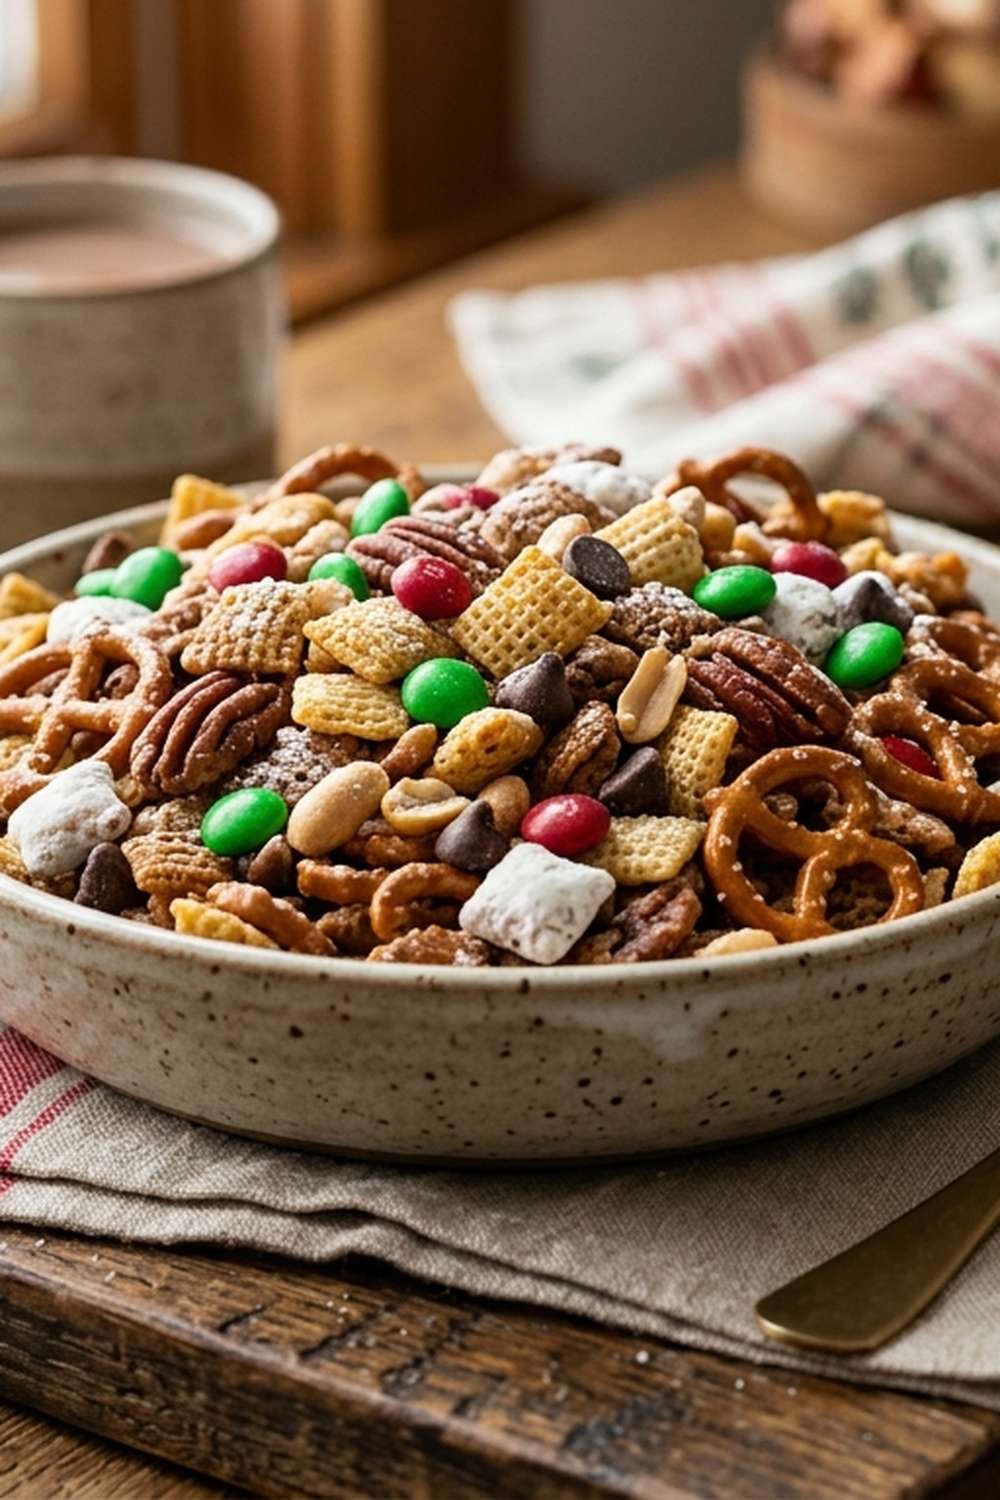
Ingredients
Method
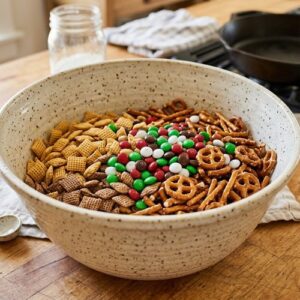
Step 1: Assemble and Dry Your Base Ingredients
- Begin by gathering all your cereals, pretzel pieces, and chocolate candies in a very large mixing bowl—and I mean large. You need at least a 6-quart capacity because you'll be tossing vigorously in the next steps, and cramped space creates uneven coating. Measure your oat rings, rice squares, wheat squares, and corn squares directly into the bowl. Break your pretzel sticks into roughly bite-sized pieces (about ½ to ¾ inch) and add them to the bowl. Sprinkle in your chocolate candies last. Now here's the professional step that most home cooks skip: gently toss everything together with your hands for about 30 seconds to distribute the ingredients evenly before adding any chocolate. This pre-mixing ensures that when you add the melted chocolate, you're starting with an already-balanced base. No ingredient will hide in corners waiting to be missed. Your mixture should look evenly distributed, with no piles of any single cereal dominating. This step teaches you about mise en place—the French technique of organizing ingredients before cooking begins.
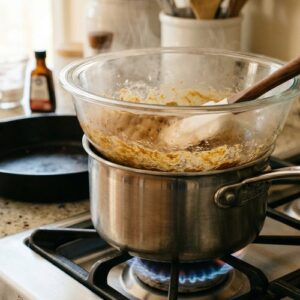
Step 2: Set Up Your Double Boiler with Intention
- This step separates amateur chocolate work from professional results. Fill a medium saucepan with about 2 inches of water and bring it to a gentle simmer (not a rolling boil—that creates too much steam). Place a heatproof bowl on top of the saucepan, making sure the bowl's bottom doesn't actually touch the water. This is called a double boiler, and the indirect heat is crucial. Direct heat will scorch chocolate, creating grainy texture and bitter flavor. Add your 24 ounces of white chocolate (either chips or chopped pieces from a quality bar) to the bowl. Now, here's the technique most people miss: don't stir constantly. Stir only occasionally, allowing the residual heat to do the melting work. Constant stirring incorporates air bubbles and actually slows the melting process. Instead, stir every 20-30 seconds, checking that the chocolate is melting evenly. This teaches you patience and proper heat management. The chocolate should reach about 110-115°F if you have a thermometer, but you can judge by eye—it should be completely smooth and pourable without any visible chunks, and it should look glossy rather than dull.
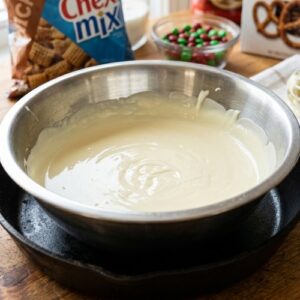
Step 3: Create Your Flavor Base
- Once your white chocolate is completely melted and smooth, remove the bowl from heat and let it cool for exactly 1 minute. This is more important than you think—chocolate that's too hot will break apart the cereal pieces and create a mushy texture rather than crispy coatings. While you're waiting, stir in your ¼ teaspoon of sea salt and ½ teaspoon of vanilla extract into the melted chocolate. This is where the flavor magic happens. The salt cuts the sweetness of white chocolate (which can be cloying on its own) and makes the chocolate taste richer. The vanilla adds depth and complexity. This technique of layering flavor is something professional chocolatiers do with every batch. These tiny additions completely transform how your guests experience the final product. Stir these additions in thoroughly until completely incorporated, about 30 seconds of steady stirring. Your chocolate should now have a subtle, sophisticated flavor rather than tasting like pure sugar.
Step 4: Begin the Coating Process—The Critical Step
- This is where your technique truly matters. Return your large bowl of cereal mixture to your work surface, making sure you have plenty of counter or table space around it. With a wooden spoon or sturdy silicone spatula, drizzle approximately one-third of your melted chocolate over the cereal mixture in thin streams, working across the entire bowl rather than pouring it all in one spot. This is the moment where patience determines your success. Don't dump the chocolate; distribute it gradually. Now, toss the entire mixture thoroughly using a gentle but firm motion, reaching to the bottom of the bowl and folding the mixture over itself. You're looking for the chocolate to coat everything evenly, but you're not trying to create clumps. This should take about 1-2 minutes of tossing. The goal is to see chocolate on every piece, with no dry cereal visible. After this first round of tossing, pause and visually inspect the mixture. About 70% should be coated, with some pieces still showing their original color. This is exactly right. The remaining chocolate will be added gradually to prevent oversaturation.

Step 5: Add Remaining Chocolate in Stages
- Add the remaining melted chocolate in two more additions, tossing thoroughly between each addition. This staged approach is the professional secret that prevents clumpy, over-saturated snack mix. If you dump all the chocolate at once, you'll create thick, unpleasant clumps that feel heavy rather than providing that perfect chocolate coating. After adding the second third of chocolate, toss for another 1-2 minutes until all pieces are coated. Check that you're not seeing any dry cereal. Then add the final portion of chocolate (keeping a little in reserve) and toss again. You should now have a glossy, evenly-coated mixture where every single piece has a thin, uniform chocolate layer. If you notice some pieces are still dry after this final addition, add a small amount of your reserved chocolate and toss again. You want complete coverage, but you don't want chocolate-soaked pieces that feel heavy or soggy. The coating should be thin enough that you can still taste the individual cereal flavors.

Step 6: Spread for Proper Setting
- This step requires patience but produces professional results. Line a large baking sheet (or two if needed) with parchment paper or wax paper. Using your wooden spoon, carefully spread the chocolate-coated mixture across the parchment in a single layer. This is not the time to be aggressive. You want pieces spread apart so they can set individually without sticking to each other. Spread gently, leaving small gaps between clusters. If the mixture is too crowded, the chocolate will take longer to set and pieces may stick together. Aim for pieces that are touching but not piled on top of each other. This is especially important for the chocolate candies, which can stick to each other and create large clumps. Resist the urge to spread things flat or break apart naturally-formed clusters at this stage—let them set first, then you can break them apart if needed. The spacing teaches you about proper cooling technique and prevents texture problems.

Step 7: The Crucial Setting Period
- Now comes the hardest part for an impatient cook like me: let the mixture set undisturbed for exactly 1 hour at room temperature. Don't move it, don't poke it, don't taste it yet. The white chocolate needs this time to crystallize properly and harden into that satisfying snap you're looking for. You'll see the surface transform from glossy to matte, and the chocolate will firm up from the outside in. After 1 hour, touch a piece gently—the chocolate should feel firm and snap cleanly when you break it. If it's still soft or feels greasy, it needs another 15-20 minutes. This waiting period is actually teaching you about chocolate crystallization, which is fundamental knowledge for all chocolate work. Once set, break the mixture into medium-sized pieces (roughly 1-2 inch clusters) by hand, working gently to preserve the shape. Store immediately in an airtight container.
Notes
- Clumpy, Over-Chocolate Mix - this happens when you add all the chocolate at once instead of in stages. The excess chocolate creates thick coatings that pool at the bottom of the bowl. Prevention: add chocolate in three separate portions as instructed, tossing between each addition. If this happens mid-process, spread the mixture immediately and don't try to salvage it by adding more chocolate. Sometimes acknowledging the mistake and starting fresh produces better results than fighting to fix an over-saturated batch.
- Chocolate That Seizes (Becomes Grainy and Clumpy) - this occurs when water gets into the chocolate during melting, causing the cocoa solids to clump irreversibly. This is why a double boiler is essential—never melt chocolate over direct heat or with steam escaping into it. If this happens, you cannot fix seized chocolate; you'll need to start over with fresh chocolate. Prevention is everything: ensure your bowl is completely dry before starting, and use a proper double boiler setup.
- Cereal Becomes Soggy or Mushy - this happens when you apply chocolate that's still too hot, which softens the cereal pieces. The solution is waiting that full 1 minute after removing the bowl from heat before adding the mixture. Additionally, if your chocolate is hotter than 115°F, it will break down the cereal structure. Always let melted chocolate cool slightly before incorporating the cereal. If pieces are already mushy, they've absorbed moisture and the batch should be spread immediately and cooled completely—sometimes even slightly soggy pieces will crisp up during the full cooling period.
- Chocolate That Won't Set Hard - if after 1 hour the chocolate still feels soft or greasy, you have three potential issues: the chocolate quality was poor (lacking cocoa butter), you didn't allow enough cooling time, or the room is too warm. Solutions include extending cooling time to 2 hours at room temperature (never refrigerate at first), moving the batch to a cooler location if possible, or accepting that lower-quality chocolate simply won't set as firmly. In the future, invest in quality chocolate with real cocoa butter.
- Uneven Coating Where Some Pieces Are Bare - this results from inadequate tossing between chocolate additions or spreading the mixture too thickly on the baking sheet. Prevention: toss thoroughly for 1-2 minutes between each chocolate addition, ensuring even distribution. When spreading on parchment, aim for single-layer spacing with small gaps between pieces. If you notice bare spots after spreading, you can sometimes carefully add a tiny drizzle of reserved chocolate to problem areas, but it's better to achieve complete coverage during the tossing stage.