Method
Step 1: Prepare Your Oven and Workspace
- Start by preheating your oven to 350°F and position your rack in the middle of the oven—this ensures even heat circulation and prevents the bottom from burning while the cheese finishes melting. This temperature is crucial because it's hot enough to crisp the tortilla and melt the cheese thoroughly, but not so hot that it browns too quickly and scorches your cheddar before it melts evenly. While your oven heats, line a standard baking sheet with parchment paper for easy cleanup. Have all your toppings prepped and ready in small bowls—this matters because once your crisp comes out of the oven, you want to add toppings immediately while everything is warm and the cheese is still slightly tacky, helping them adhere beautifully.

Step 2: Butter Your Tortilla Generously
- Take your large flour tortilla and place it on the prepared baking sheet. This is where many home cooks make their first mistake—they under-butter. Use your tablespoon of unsalted butter, softened slightly so it spreads easily, and generously coat the entire surface of the tortilla, making sure to go all the way to the edges. Don't be shy here. The butter is your ticket to that golden, crispy texture that makes this feel like you ordered from a fancy restaurant rather than throwing something together at home. I like to use a pastry brush to ensure even distribution, but your fingers work perfectly well too. Make sure the edges get good coverage—they're where you'll get those magical crispy bits that make people fight over the last piece.

Step 3: Give the Tortilla a Head Start
- Pop your buttered tortilla into the preheated 350°F oven for approximately 6 minutes. You're looking for it to become lightly toasted and slightly firm but not yet brown. This brief initial baking accomplishes something important: it removes some of the moisture from the tortilla so it can crisp rather than become chewy, and it starts the butter browning process without burning it. Set a timer so you don't forget about it. At this point, the aroma coming from your oven should be absolutely lovely—toasted flour and butter is an unmistakable smell of good food being prepared.

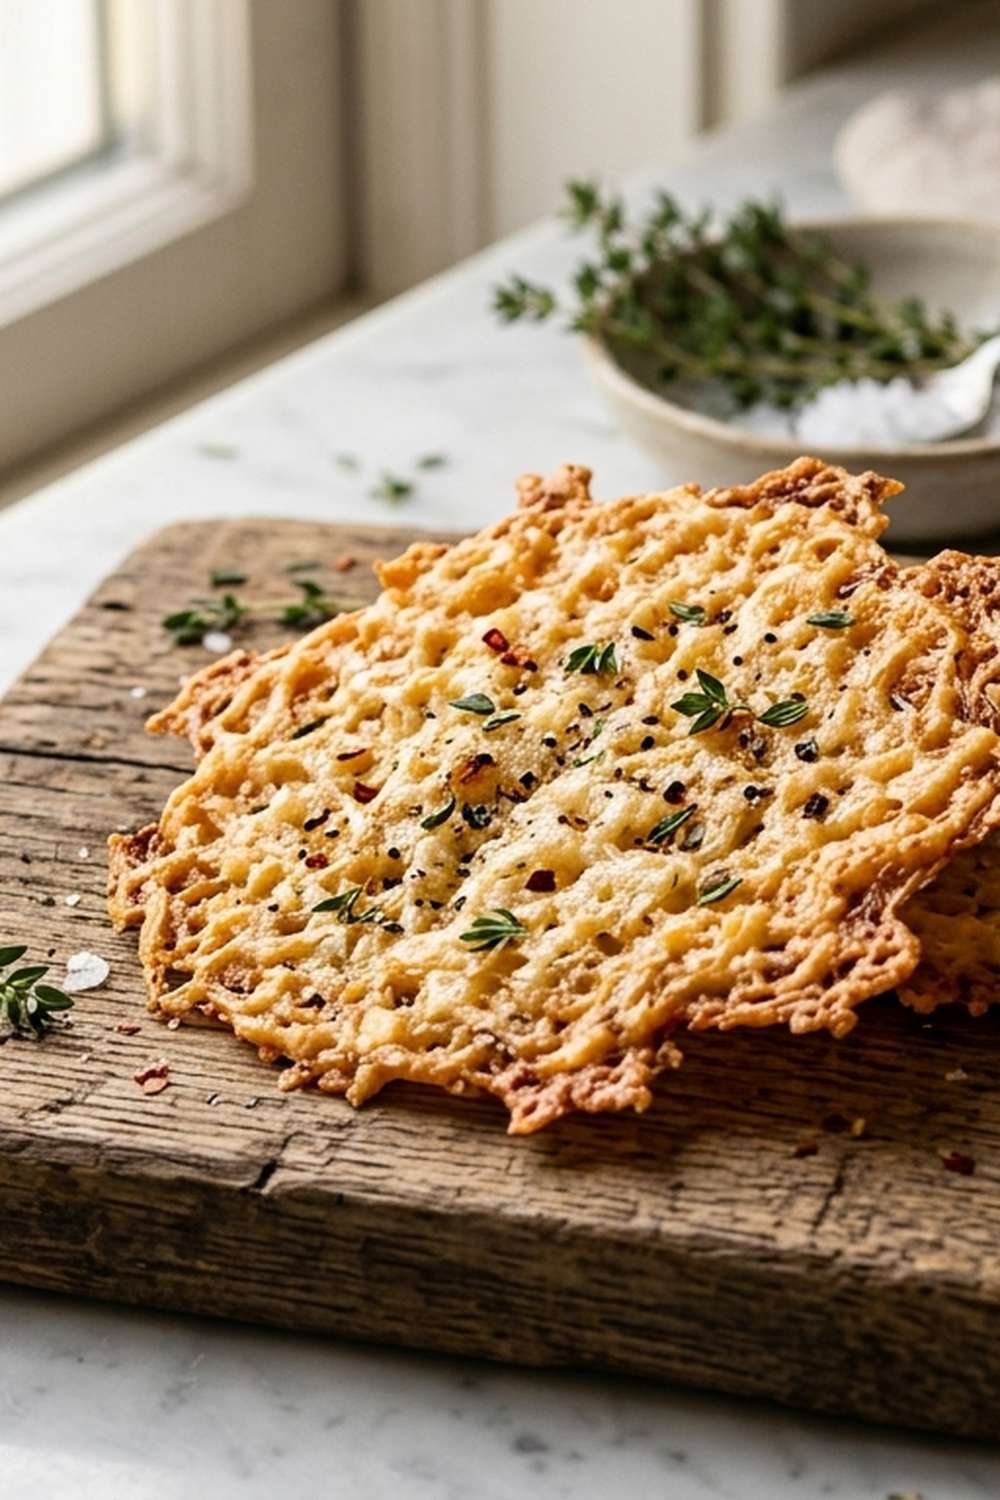
Step 4: Add Your Cheddar and Return to Heat
- Remove the partially baked tortilla from the oven and immediately sprinkle your freshly grated sharp cheddar evenly across the surface, leaving approximately a half-inch border around all edges. This border is important—it gives the cheese room to spread slightly as it melts without overflowing onto your baking sheet and burning. The tortilla should still be warm enough that the cheese immediately begins to soften, which is a good sign. Return the baking sheet to your 350°F oven and bake for exactly 2 more minutes, watching carefully as the cheese transforms from distinct shreds into a unified, melted layer. The timing here is specific because you want the cheese fully melted and slightly bubbly, but you don't want to cook the tortilla so long that it becomes brittle.

Step 5: Top and Serve Immediately
- The moment your cheese is completely melted—and I mean immediately—remove the crisp from the oven and add your toppings in this order: first the salsa drizzled lightly across the top, then scattered pico de gallo, then your avocado slices or guacamole dollops, and finally the fresh cilantro. The heat from the tortilla and cheese will slightly warm these fresh toppings while maintaining their brightness and texture. Cut into 6-8 wedges with a pizza cutter or sharp knife and serve immediately while everything is warm and crispy. This is the moment when your simple appetizer becomes magic—the contrast of warm, melty cheese against cool, fresh toppings is exactly what makes people reach for another piece.