
Ingredients
Method
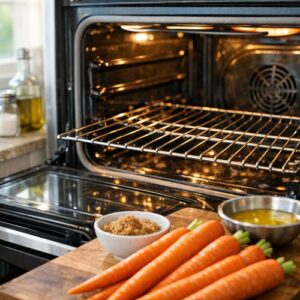
Step 1: Prepare Your Carrots and Heat Your Oven
- Start here about 30 minutes before you plan to serve. Remove your oven rack to the middle position and preheat your oven to 400 degrees Fahrenheit. While it heats, prepare your baby carrots by rinsing them gently under cool water and patting them completely dry with a clean kitchen towel. Trim the green tops down to about 2 inches—this isn't just for aesthetics; it prevents the carrot tops from burning and helps the carrots cook more evenly. If you have particularly large carrots in your bunch, halve them lengthwise so all pieces are roughly the same size. This ensures even cooking, which is the secret to avoiding undercooked hard pieces or overcooked mushy edges.
Step 2: Oil and Season the Carrots
- Place your dried carrots in a large mixing bowl and drizzle with the olive oil. Sprinkle with salt and freshly ground pepper. This is important: toss gently but thoroughly, making sure every carrot gets coated with oil. The oil creates a barrier that helps the carrots roast rather than steam. If you're using salted butter in your glaze (I mentioned this option in the ingredients), reduce the salt here to just ¼ teaspoon. Arrange the oiled carrots in a single layer on a large baking sheet, cut-side down. They should have space between them—avoid overcrowding, which traps steam and prevents proper browning. If your baking sheet is too small, use two sheets rather than piling carrots on top of each other.

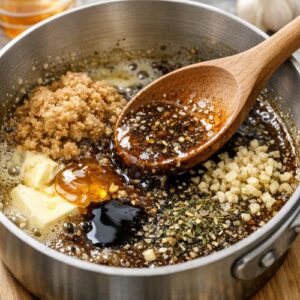
Step 3: Create the Caramelizing Glaze
- While your carrots are arranging themselves on the baking sheet, combine the butter, brown sugar, honey, Italian seasoning, balsamic vinegar, and minced garlic in a small saucepan. Place this over medium-high heat and stir frequently. You're looking for this mixture to fully melt and just barely begin to boil—this usually takes about 3-4 minutes. You'll see small bubbles forming around the edges. This is exactly what you want. Once it reaches that point, remove it from heat immediately. Don't let it boil vigorously or the sugar can crystallize and become grainy. The mixture should be smooth, fragrant, and noticeably darker than when you started.
Step 4: Combine and Roast
- Pour your warm glaze over the carrots and use a spoon or rubber spatula to toss everything together, ensuring each carrot gets coated with that gorgeous glaze. Transfer the baking sheet to your preheated 400-degree oven immediately. Set a timer for 20 minutes. Don't skip checking at the 18-minute mark—every oven runs slightly differently, and you want to catch the moment when the carrots are tender and the glaze is caramelized but not burned. Pierce a carrot with a fork; it should slide through with just slight resistance.

Step 5: Final Touch and Serving
- Remove the baking sheet from the oven—be careful, it's hot, and the glaze is extremely hot. If you're using the optional lemon zest, sprinkle it over the carrots now; it adds a brightness that complements the richness beautifully. Taste one carrot and adjust seasoning if needed. Sometimes depending on your honey and vinegar, you might want just a touch more salt or a squeeze of fresh lemon juice. Serve immediately while they're still warm and the glaze is glossy. Cold roasted carrots are fine for leftovers, but they truly shine when warm.

Notes
- Overcrowding the baking sheet: This is the most common mistake. When carrots are piled on top of each other, they steam instead of roast, and the glaze never caramelizes properly. You'll end up with soft, pale carrots instead of glossy, caramelized ones. Give them space—use two baking sheets if needed.
- Skipping the drying step: Wet carrots prevent proper browning. Take the extra minute to pat them completely dry with a clean towel after washing. This small step makes an enormous difference in the final result.
- Making the glaze too far ahead: If you make it more than a few hours early, the brown sugar can crystallize and the honey can separate. I recommend making it no more than 2-3 hours ahead and gently reheating it just before using.
- Opening the oven door repeatedly: I know the anticipation is real, but checking on them constantly can affect cooking temperature and time. Trust the recipe, check once at 18 minutes, and remove at 20-22 minutes based on your oven.