
Ingredients
Method
Step 1: Season and Rest Your Brisket
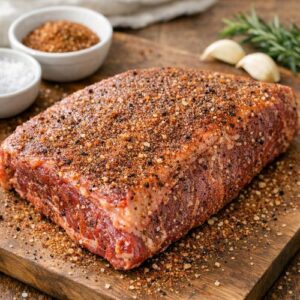
- If you've prepared your brisket the night before, you're already ahead. If doing this same day, combine 2 tablespoons of BBQ seasoning blend, 1 tablespoon of light brown sugar, and 1 tablespoon of sea salt in a small dish. Mix thoroughly so the sugar distributes evenly. Rub this mixture generously over all surfaces of your brisket, using enough pressure that the rub adheres to the meat's surface. The seasoning should coat the entire exterior, creating a flavorful crust during searing. Let the seasoned meat stand at room temperature for at least one hour (or refrigerate overnight). This resting period is non-negotiable—it allows seasonings to penetrate and helps the meat cook evenly.
Step 2: Preheat Your Oven and Heat Your Dutch Oven
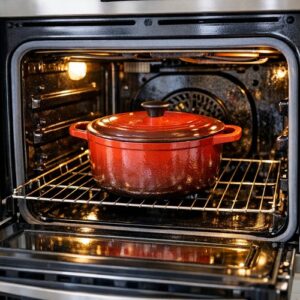
- Adjust your oven rack to the lower-middle position (this ensures even heat circulation around your Dutch oven). Preheat your oven to 300°F. This temperature is essential—it's low enough to prevent moisture loss but high enough to properly braise the meat. Allow at least 15 minutes for your oven to reach this temperature. While the oven preheats, place your Dutch oven (cast iron or enameled ceramic) on your stovetop over medium-high heat. Let it warm for 2-3 minutes. This preheating step ensures your sear will be effective.
Step 3: Sear the Brisket for Color and Flavor
- Add 2 tablespoons of avocado oil to your heated Dutch oven. The oil should shimmer and move freely across the bottom—this indicates proper heat. Carefully place your seasoned brisket fat-side down into the hot oil. You should hear an immediate sizzle. Do not move the meat for 5 minutes. This uninterrupted contact creates a golden-brown crust through the Maillard reaction. After 5 minutes, carefully flip and sear the other side for another 5 minutes. The brisket should develop a rich mahogany crust on both sides. Remove the seared meat and set it aside on a clean plate.
Step 4: Build Your Flavor Base with Aromatics
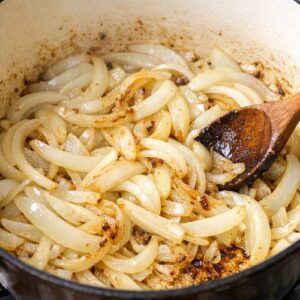
- Without draining the oil, reduce heat to medium and add your 2 sliced medium onions to the same Dutch oven. The onions will stick initially—this is good. They're absorbing the flavorful browned bits left from searing. Cook for 6 minutes, stirring occasionally, until onions soften and begin to turn golden. Add your 3 cloves of minced garlic and cook for exactly 1 more minute. Garlic burns quickly, so watch carefully. You want fragrant garlic, not bitter burnt garlic.
Step 5: Deglaze and Build Your Braising Liquid
- Pour ¾ cup of beef broth into the Dutch oven. Use a wooden spoon to scrape the bottom, lifting up all the browned bits (called the fond) that contain concentrated flavor. These caramelized particles will dissolve into your braising liquid, enriching the entire dish. Continue scraping and stirring for 1-2 minutes until the bottom is clean. Remove from heat. In a separate bowl or measuring cup, whisk together ¾ cup of BBQ sauce, 1 tablespoon of Worcestershire sauce, and 1 tablespoon of soy sauce. Pour this mixture into your Dutch oven and stir gently to combine.
Step 6: Return the Brisket and Begin Braising
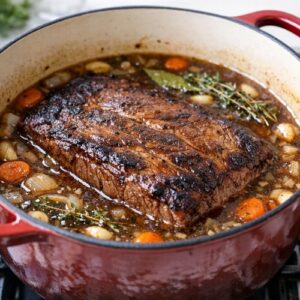
- Place your seared brisket back into the Dutch oven, positioning it so it's mostly submerged in the braising liquid (the top may show slightly, and that's fine). Cover your Dutch oven with its lid and transfer to your preheated 300°F oven. This is the magic moment where time and moisture work together to transform tough meat into something tender.
Step 7: The Patient Wait—4 to 4.5 Hours of Braising
- Set a timer for 4 hours. During this time, check the brisket once at the 2-hour mark to ensure it's braising properly (the liquid should bubble gently around the edges when you peek). You shouldn't need to flip or move the meat—the liquid surrounding it does the work. After 4 hours, the meat should be fork-tender. To test doneness, pierce the thickest part with a fork; the meat should offer almost no resistance and should yield easily to gentle pressure.
Step 8: Rest Your Brisket for Maximum Juiciness
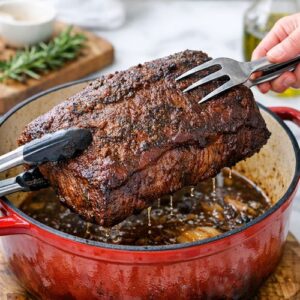
- Carefully remove your Dutch oven from the oven (use oven mitts—the handles are extremely hot). Using tongs or two large forks, transfer the brisket to a cutting board or serving platter. Let the meat rest uncovered for at least 15 minutes. During this rest, muscle fibers relax and reabsorb juices that mobilized during cooking. This step makes the difference between tender-and-juicy meat and meat that's tender but slightly dry.
Step 9: Create Your Finished Sauce (Optional Thickening)
- While the brisket rests, you can leave your braising liquid as-is (it's already delicious) or thicken it into a proper sauce. If thickening, whisk 1 tablespoon of cornstarch with 1 tablespoon of cold water until smooth, creating a slurry. Place your Dutch oven on the stovetop over medium heat. Once the liquid begins to simmer, slowly pour in your cornstarch mixture while whisking constantly. Continue stirring for about 5 minutes until the sauce thickens to your desired consistency. The sauce should coat the back of a spoon lightly.
Step 10: Slice and Serve with Respect for the Grain
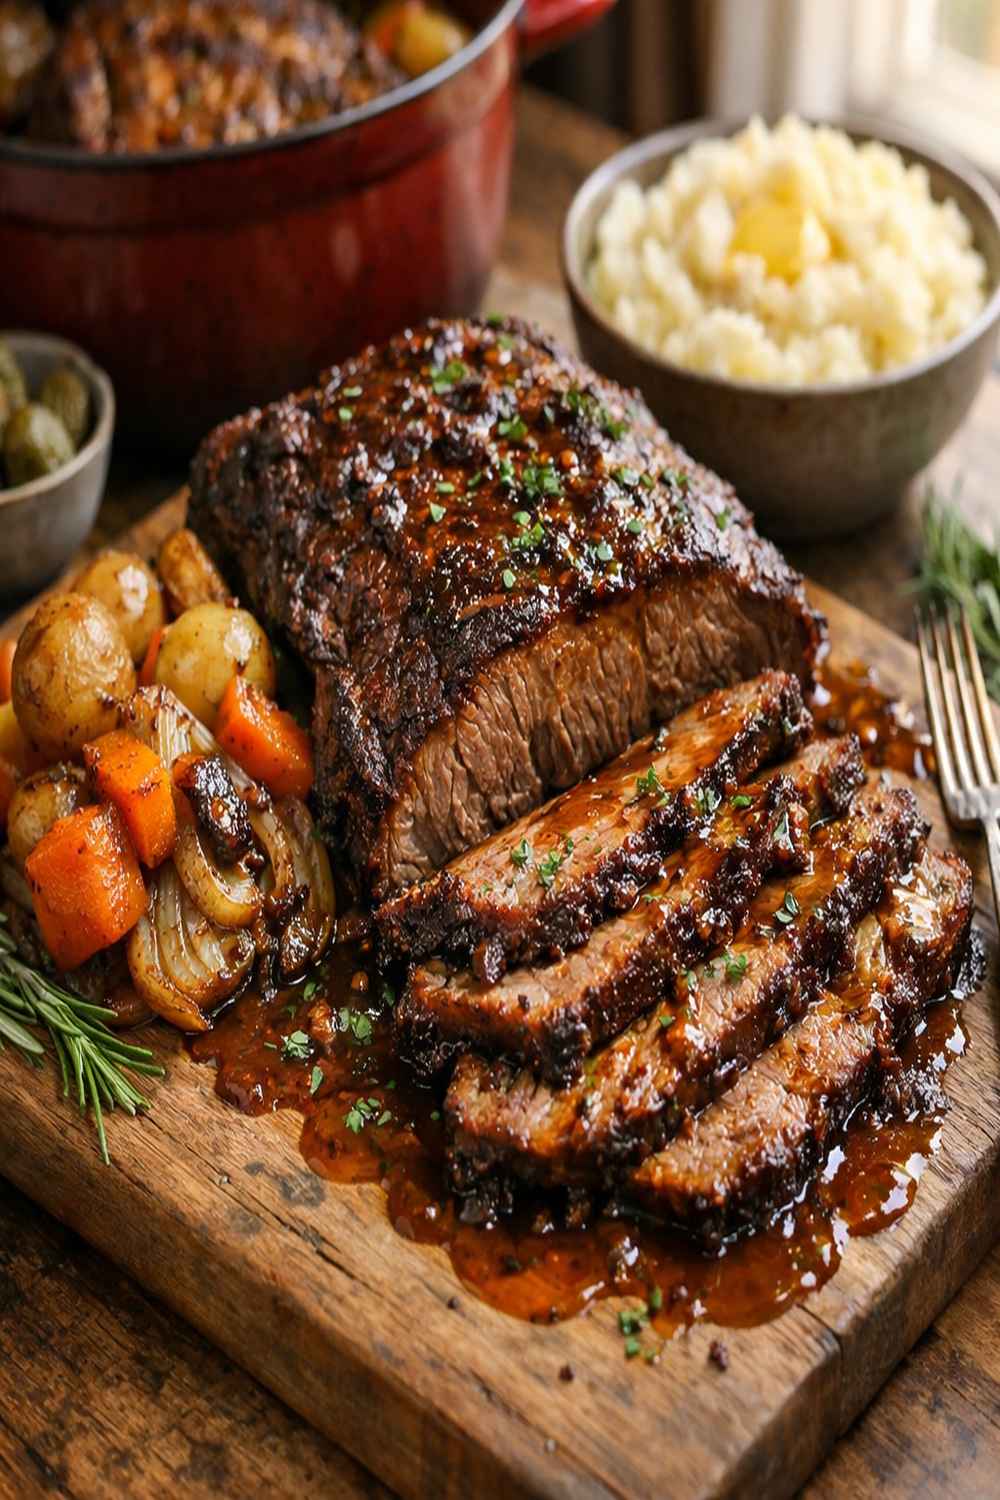
- This is the final, crucial step. Look at your rested brisket and identify the direction of the meat's grain (you'll see lines running through it). Always slice against the grain—perpendicular to these lines. Slicing against the grain shortens muscle fibers, making each bite more tender. Use a sharp carving knife and cut slices about ¼-inch thick. Arrange on a serving platter and pour your prepared sauce over the top, or serve sauce on the side so guests can control the amount.