Ingredients
Method
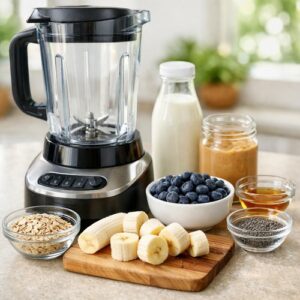
Step 1: Prep Your Blender and Gather Everything in One Spot
- Before you touch anything, place your blender on a flat, stable counter surface. Make sure the pitcher (the container part) is securely attached to the base. You'll know it's secure when it twists clockwise and sits snugly. Now, gather all your ingredients in front of you so you're not hunting around mid-process. Having everything visible and ready is called mise en place in the kitchen, and it's a professional habit that makes everything smoother.
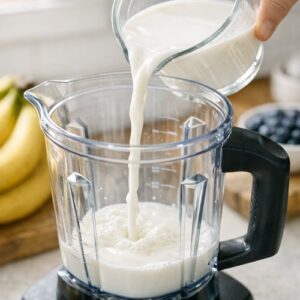
Step 2: Add Your Liquid First
- This step matters more than you might think. Pour your 1 cup of milk directly into the blender pitcher first. I always recommend adding liquid before solids because it helps the blades move more freely and prevents them from getting stuck on dry fruit. Don't add ice yet—just the milk. Make sure the pitcher is sitting on the base and secured properly.
Step 3: Add Your Greens
- Now add your 1 cup of baby spinach. It looks like a lot, but trust me—it completely dissolves. You might need to press it down gently into the milk, and that's perfectly fine. The spinach won't do anything except add nutrition and a gorgeous color; it won't taste spinachy at all because the fruit completely covers any flavor.
Step 4: Layer Your Fruit
- Add your 1 cup of blueberries next, whether they're fresh or frozen. If they're fresh, that's wonderful. If they're frozen, even better—they'll make your smoothie thicker and colder. Then add your sliced banana. If your banana was fresh, I recommend breaking it into three or four chunks so the blender can work with it more easily. If it was frozen, the pieces should already be manageable.
Step 5: Optional Add-Ins for Extra Nutrition
- This is where you can add the extras if you have them. Sprinkle in your 1 to 2 teaspoons of ground flaxseed, chia seed, or hemp seed if you're using them. Add your 1 to 2 tablespoons of nut or seed butter if you want extra creaminess and protein. You can skip both of these entirely and still have a delicious smoothie—they're just bonuses.
Step 6: Add Ice (Optional but Recommended)
- If you're using fresh fruit and want a thicker, colder result, add ½ cup of ice cubes. If you're using frozen fruit, you probably don't need ice—the frozen berries and banana will give you that texture and cold temperature already. More ice means a thicker smoothie; less ice means something more drinkable. Your choice.
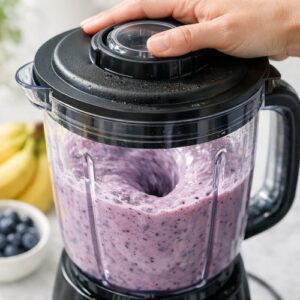
Step 7: Secure the Lid and Start Blending
- Place the lid securely on your blender pitcher—twist it clockwise until it's snug. This is important because you don't want any splashes. Now, this is the moment. Place your hand on top of the lid (gentle pressure, not forceful), and press the Low button or turn the dial to the lowest setting. You're going to let it run for about 30 seconds. What you're listening for is the sound of the blender smoothly whirring. You might hear the fruit being broken down—that's exactly right. Don't be alarmed; that's the sound of success.
Step 8: Increase Speed and Blend Until Smooth
- After those first 30 seconds on low, turn the dial up to High or press the High button. Now let it run for another 30 to 60 seconds. This is where the magic happens. You'll notice the color become more uniform, the texture become creamier, and any visible fruit chunks disappear. Stop blending when you see absolutely no chunks and the mixture looks uniform throughout. How do you know when you're done? Peek through the blender pitcher—if you see any small fruit pieces, keep it running for another 10 to 15 seconds. If it looks completely smooth and creamy, you're finished.
Step 9: Turn Off and Remove the Lid Carefully
- Press the Off button or turn the dial to the Off position. Let the blender come to a complete stop—don't try to remove the lid while it's still spinning. Wait a few seconds. Now, gently twist the lid counterclockwise and remove it carefully. Be mindful because the contents are cold but the blender might feel slightly warm from friction.
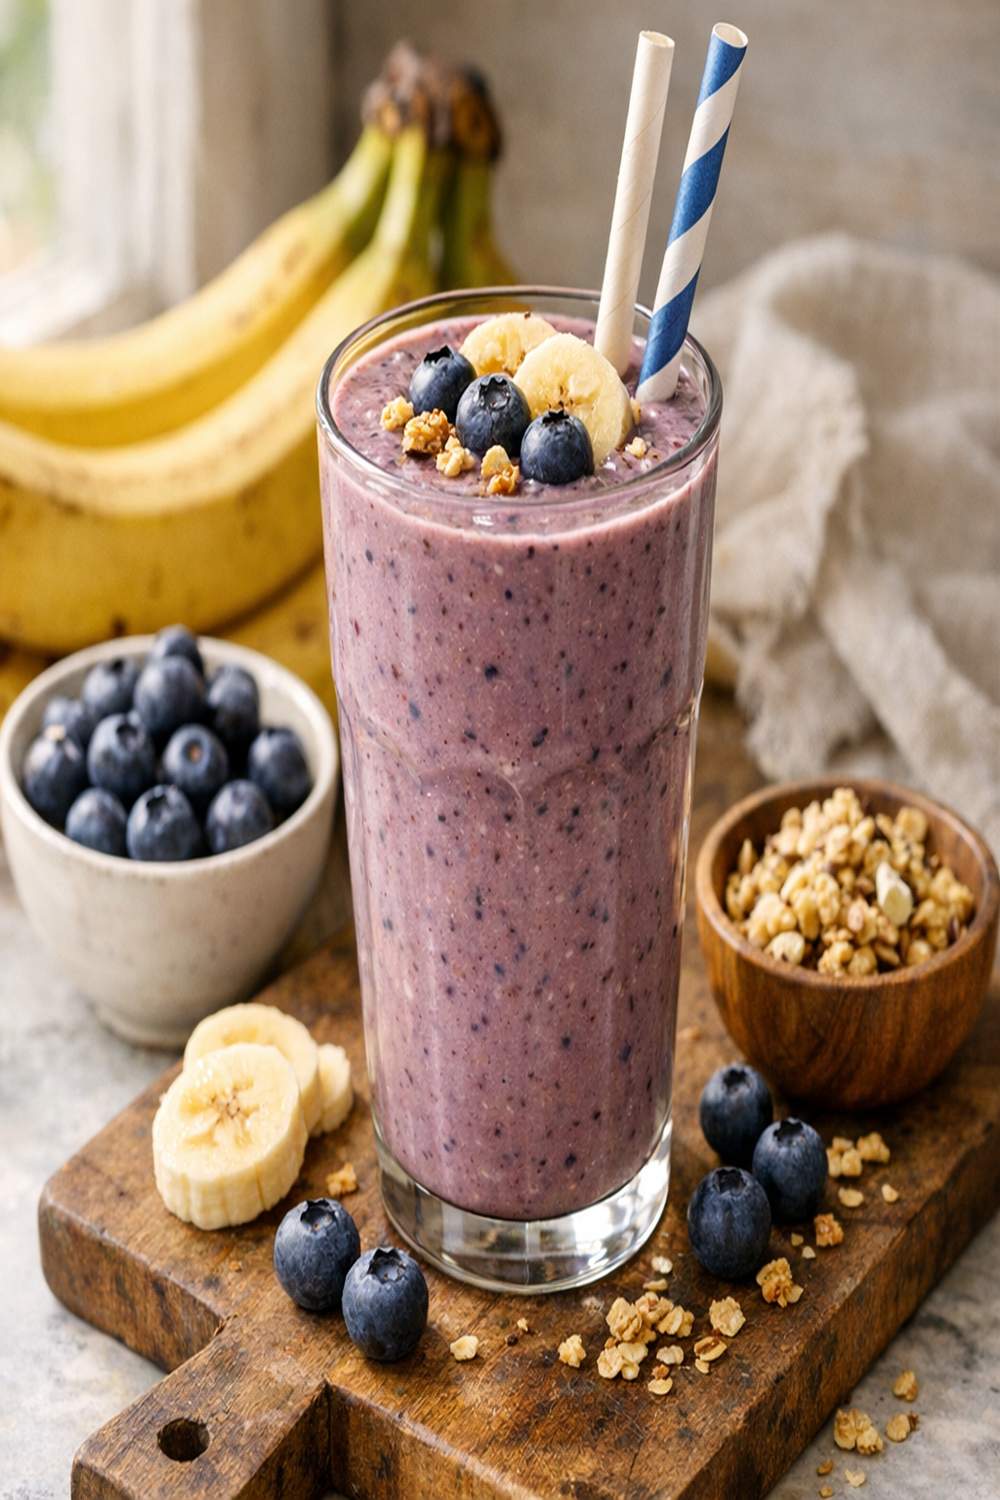
Step 10: Pour and Serve Immediately
- Pour your beautiful smoothie into a tall glass. Serve immediately and drink right away for the best texture and flavor. The smoothie will start to separate and settle after a few minutes, but it's still delicious. If you want to store it, pour it into a container with a tight lid and refrigerate.
Notes
- ½ cup ice cubes, if using fresh fruit (optional but recommended for a thicker, more refreshing texture)
- 1 cup baby spinach, lightly packed (this adds nutrition without changing the taste; it totally disappears into the smoothie, I promise)
- 1 cup blueberries, fresh or frozen (frozen actually work beautifully here and are often less expensive; look for no added sugar on the label)
- 1 to 2 tablespoons nut or seed butter such as peanut, almond, cashew, or sunflower seed butter, optional (this adds creaminess, protein, and healthy fats; also optional, and adds a tiny bit more richness)
- 1 to 2 teaspoons ground flaxseed, chia seed, or hemp seed, optional (these add omega-3 fatty acids and fiber; totally optional, but wonderful if you have them)
- 1 cup unsweetened milk of your choice (dairy milk, almond milk, oat milk, soy milk—whatever you have works; I personally love oat milk for creaminess, but it's entirely your preference)