
Ingredients
Method
Step 1: Start Your Oven and Cook the Pasta
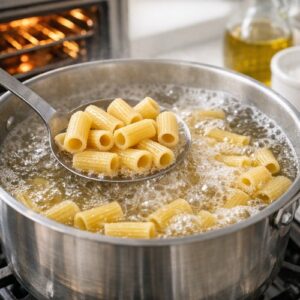
- Preheat your oven to 350°F (176°C). This is slightly lower than some recipes call for, and here's why: it allows the cheese top to brown gently without the edges browning too quickly. While your oven preheats, bring a large pot of salted water to a rolling boil—the water should taste like the sea, which means you're properly seasoning the pasta itself. Add your rigatoni and cook according to the package directions, but stop one minute before the recommended time. The pasta should still have a slight firm bite when you taste it—this is crucial. Many people cook pasta all the way to tender because they're used to finished dishes, but here, the pasta will continue cooking in the oven. If you cook it fully now, you'll end up with overcooked mush. Drain well and set aside in a large bowl. Prep-ahead tip: You can cook your pasta up to 24 hours in advance. Toss it lightly with a tiny drizzle of olive oil, cover, and refrigerate. This actually makes assembly faster on the day of your gathering.
Step 2: Build Your Meat Sauce Foundation
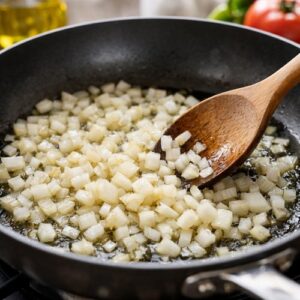
- While the pasta cooks, heat your olive oil in a large skillet over medium-high heat. Add your diced onion and cook, stirring occasionally, for about 4-5 minutes until the edges begin to soften and the pieces become translucent at the edges. Don't skip this step by adding everything at once. The onion needs time to break down and release its natural sugars, which creates the deep, savory base of your sauce. Once the onion is softened, add your minced garlic and stir constantly for about 30 seconds—just until you can smell it, which means the raw bite is gone. If you cook garlic too long, it becomes bitter. If you don't cook it at all, it tastes harsh in the finished dish. Now add your ground beef directly to the pan. Here's the technique I use: let it sit undisturbed for about 2 minutes so it makes direct contact with the heat and begins browning on one side. Then break it up with a wooden spoon, stirring as it cooks. Don't break it into tiny pieces—aim for chunks about the size of peas. Smaller pieces dry out and disappear into the sauce. Keep cooking, stirring occasionally, until there's no pink remaining and the meat has developed a deep brown color (about 5-7 minutes total). This browning step is why this method works better than others. You're creating what's called the Maillard reaction—a chemical transformation that develops complex, savory flavors that stovetop rushing simply can't achieve. It takes 2 extra minutes, but it's the difference between "pretty good" and "why does this taste so restaurant-quality?"
Step 3: Combine with Sauce and Season
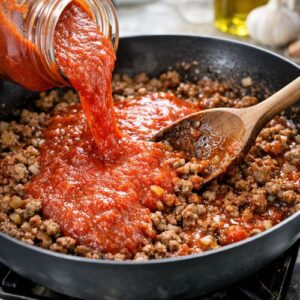
- Pour your entire jar or can of marinara sauce into the pan with the cooked meat. Stir well, making sure to scrape the browned bits from the bottom of the pan—that's where all the flavor is. Let the sauce come to a gentle simmer and cook for 2-3 minutes while stirring occasionally. This allows the flavors to meld and the sauce to heat through completely. Now comes the most important seasoning step: taste the sauce and season with salt and pepper. Start with ½ teaspoon of salt and ¼ teaspoon of pepper, stir well, and taste again. The sauce should taste flavorful but not salty on its own—remember, you'll be combining it with pasta and cheese, which will also contribute to the overall seasoning. This staged seasoning approach prevents the final dish from being oversalted, which is a common mistake. If you like a little heat, this is where you'd stir in that optional red pepper flakes. Add them to the meat mixture rather than waiting until the end, so they infuse into the sauce.
Step 4: Combine Everything in Your Baking Dish
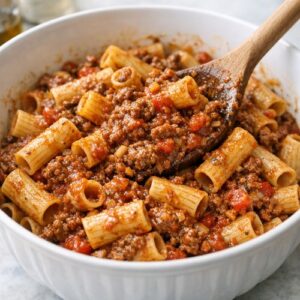
- Pour your cooked meat sauce over the drained pasta in your large bowl and stir until every piece of rigatoni is coated. This takes a bit of elbow grease—be thorough. You want the sauce distributed evenly so every bite has that savory-tomato-meat component. Transfer the entire mixture to a 13x9 inch baking dish. Spread it in an even layer. If you're making this ahead for a holiday gathering, this is the perfect stopping point. Cover with plastic wrap and refrigerate for up to 24 hours. You can bake it straight from the fridge—just add about 5 minutes to the covered baking time. Make-ahead expert tip: Preparing this the night before your gathering is my secret to stress-free hosting. You can focus on other dishes, set the table, and attend to guests instead of cooking frantically in the kitchen while everyone's arriving.
Step 5: The First Bake—Covered
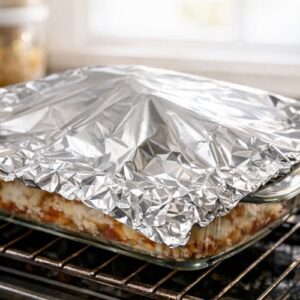
- Cover your baking dish loosely with aluminum foil. I say "loosely" because you want to tent it—the foil shouldn't be pulled tight against the top. A loose tent allows steam to circulate gently while trapping enough moisture so the pasta doesn't dry out. Bake at 350°F for 20 minutes. You're not looking for any browning yet; you're just heating everything through and allowing the pasta to absorb the remaining sauce moisture. If you're baking straight from the refrigerator, add 25 minutes total (5 extra for the cold temperature).
Step 6: The Final Bake—Uncovered with Cheese
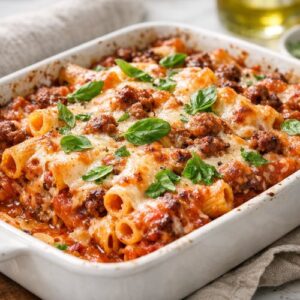
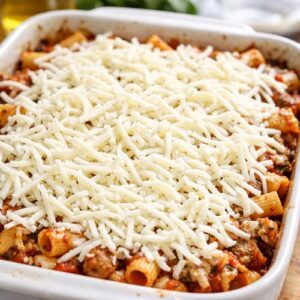
- Carefully remove the baking dish from the oven and remove the foil. Evenly distribute your shredded mozzarella cheese over the top of the pasta mixture. I use about 2 cups for this amount, which is enough to create a cohesive, golden layer without making the dish overly heavy or rich. Don't pack the cheese down; let it sit loosely on top so it can brown evenly. Return to the oven, uncovered, for 10 more minutes until the cheese is completely melted and the edges are turning golden brown. You'll see some slightly darker spots on the top—that's exactly what you want. That's flavor development. The cheese should bubble slightly at the edges. Watch it carefully during this final stage. Every oven is slightly different—if your oven runs hot, it might brown faster. You're looking for golden, not dark brown.
Step 7: Rest and Finish with Fresh Basil
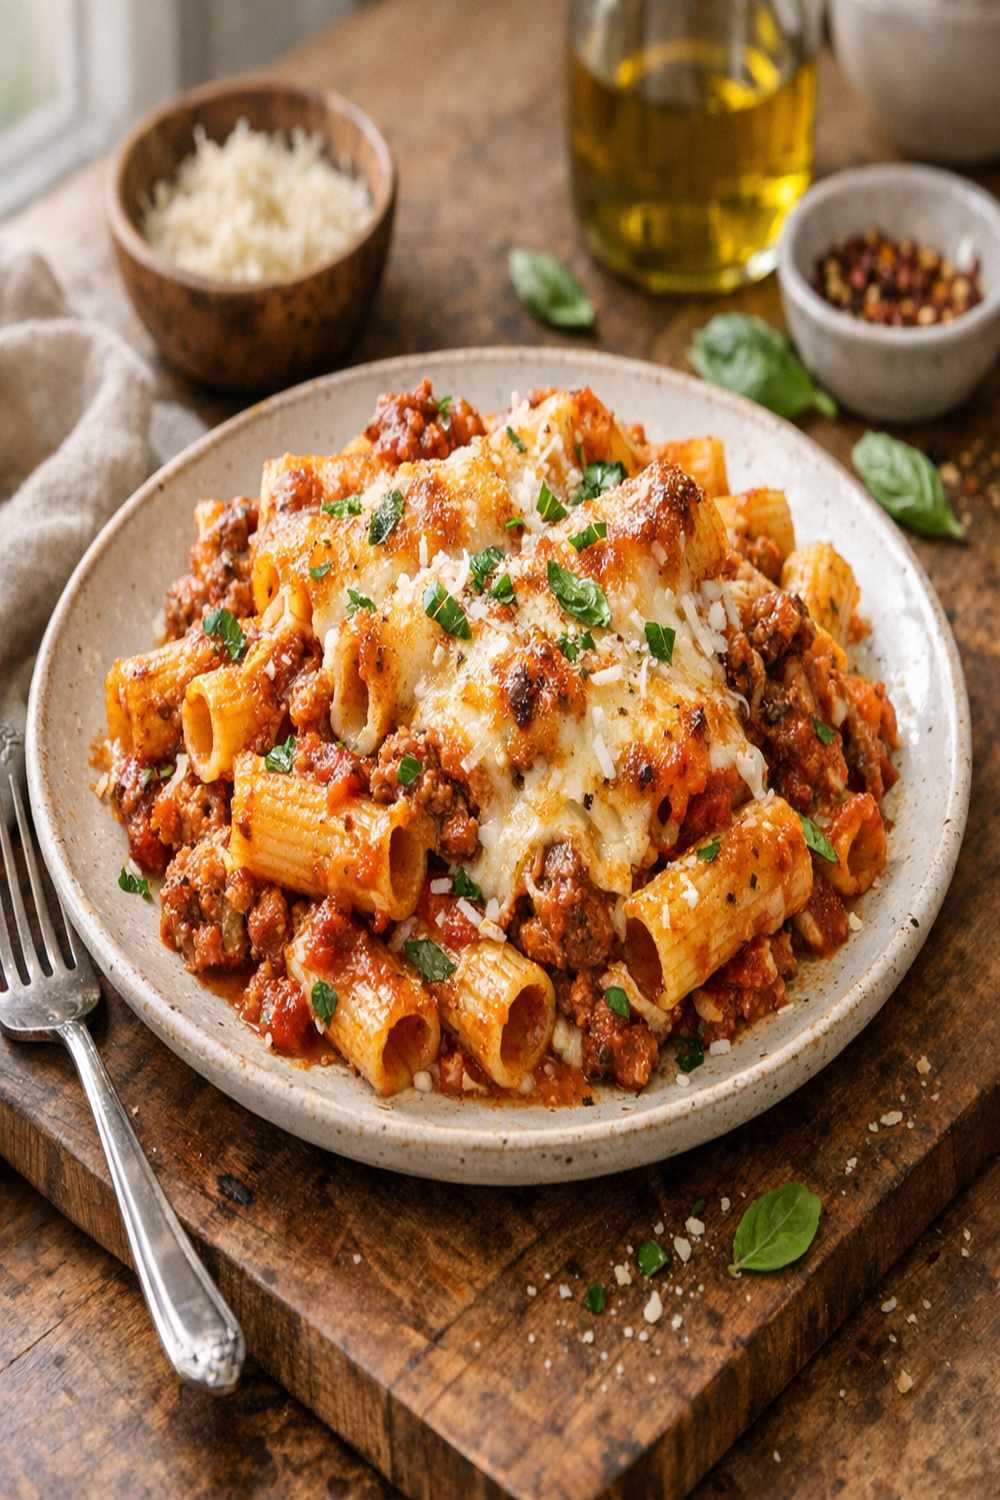
- Remove from the oven and let the baked rigatoni rest for 3-5 minutes before serving. This resting period allows the interior to set slightly so it holds together when you scoop it onto plates. During the first 2 minutes of resting, the residual heat finishes cooking the pasta and allows the cheese to firm up just slightly. Just before serving, scatter your fresh basil over the top. The heat will gently warm the basil and release its essential oils, adding a bright, herbaceous note that balances the richness. Fresh basil is non-negotiable here—it completely changes the flavor profile from heavy to elegant.