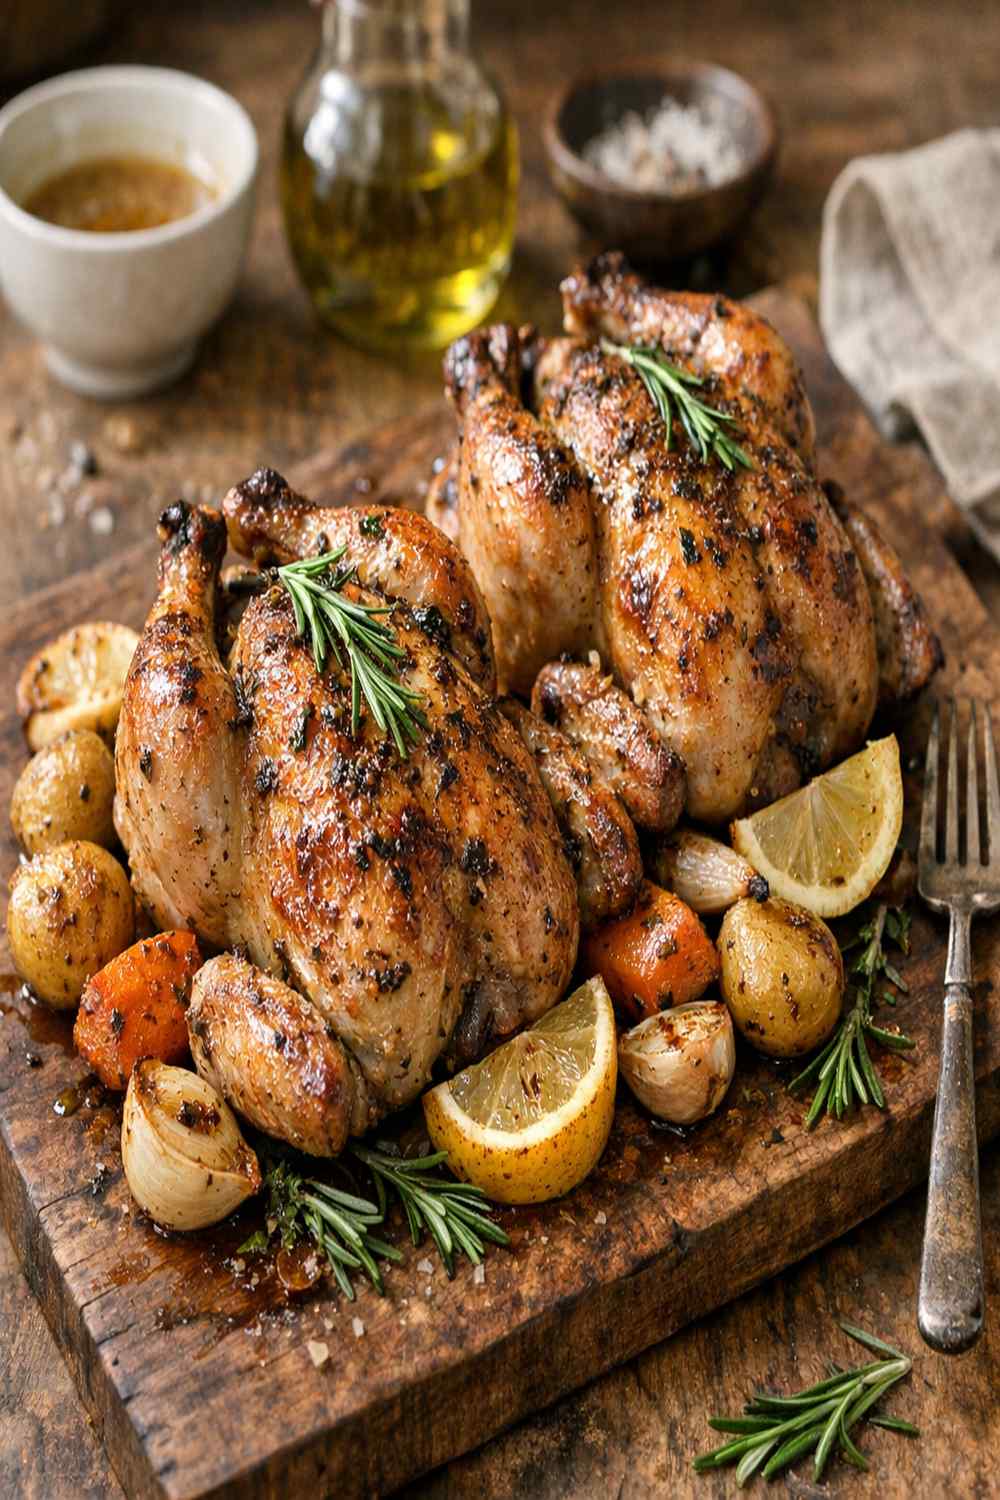

Ingredients
Method
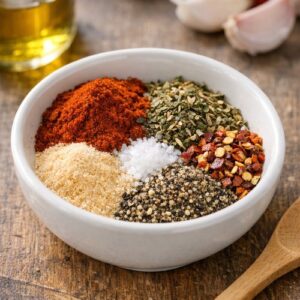
Step 1: Create Your Signature Dry Rub
- In a small bowl, combine the smoked paprika, Italian seasoning, garlic powder, salt, pepper, and red pepper flakes. This is your flavor foundation, so take a moment to mix it thoroughly, breaking up any clumps. The beauty of making your own blend rather than buying pre-mixed seasonings is that you control the salt level and the freshness of the spices. I like to combine my dry ingredients the night before—it's a five-minute task that removes stress from your cooking day. Store in a small container with a tight lid.
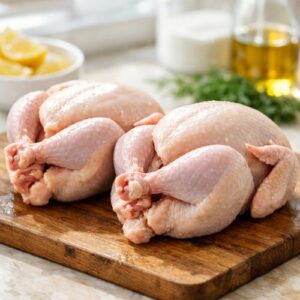
Step 2: Prepare Your Birds
- Remove your Cornish hens from the refrigerator about 20 minutes before cooking. This allows them to come closer to room temperature, ensuring more even roasting. Pat them completely dry with paper towels—this is critical for crispy skin. Moisture is the enemy of browning. Don't skip this step, even though it seems simple. Once they're dry, generously apply your dry rub both inside and out. Get the seasoning under the wings, around the thighs, and inside the cavity. The hens should look almost encrusted with the seasoning blend. This generous application is what creates that stunning golden-brown exterior and ensures every bite is flavorful.
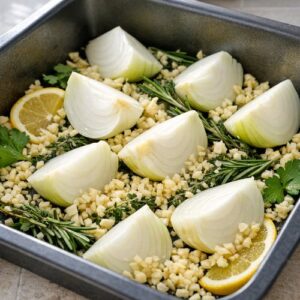
Step 3: Prepare Your Roasting Pan
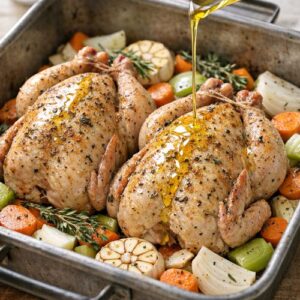
- Preheat your oven to 425°F. While it heats, arrange your roasting pan with the aromatics. I like to create a bed using the quartered onion, minced garlic, and fresh rosemary and thyme sprigs. These aromatics serve two purposes: they flavor the hens from below and they elevate the birds slightly off the pan bottom, allowing air to circulate underneath for better browning. Don't skip the aromatic base—it's not just for flavor; it's for technique. Arrange your lemon slices among the aromatics.
Step 4: Nestle Hens and Add Oil
- Place your seasoned hens directly on top of the aromatic vegetables in the roasting pan. Position them breast-side up. Drizzle the olive oil evenly over both birds, allowing it to coat the skin. The oil ensures beautiful browning and keeps the meat juicy during roasting. If you're cooking multiple birds, make sure they're not touching—air circulation is essential for even cooking and browning.
Step 5: Roast to Golden Perfection
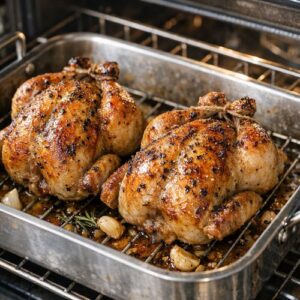
- Transfer your roasting pan to the preheated 425°F oven. Set a timer for 50 minutes, and begin checking the hens at the 45-minute mark. They're finished when an instant-read thermometer inserted into the thickest part of the thigh (not touching bone) registers 165°F. The skin should be deeply golden brown and crispy-looking. Don't skip the temperature check—it's the only way to ensure doneness without cutting into the bird and releasing precious juices. If your oven runs hot or you notice the skin browning too quickly, you can tent the hens loosely with foil for the final 15 minutes. If they're browning beautifully, leave them uncovered. Most ovens need the full 50-60 minutes, but check yours at the 45-minute mark.
Step 6: Rest and Finish
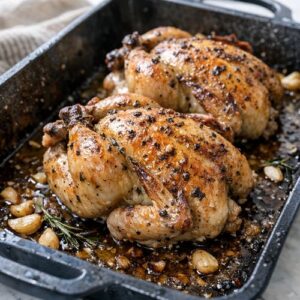
- Remove the hens from the oven and let them rest on the pan for at least 20 minutes before serving. This resting period is non-negotiable if you want juicy meat. During this time, the residual heat continues gentle cooking while the muscle fibers relax and reabsorb the juices. Skipping this step is the primary reason home-cooked poultry comes out dry. Use this resting time to finish any sides or to make a quick pan sauce from the aromatic vegetables and chicken broth in the bottom of the pan. For a pan sauce, simply pour the pan juices through a fine-mesh strainer into a saucepan, add ½ cup chicken broth, and simmer for 3-4 minutes while scraping up any browned bits from the pan. This creates an elegant, herby sauce that's absolutely delicious drizzled over both the hen and your sides.
Notes
- Skipping the pat-dry step - Wet poultry simply will not brown properly, no matter how hot your oven. The moisture creates steam rather than a crispy crust. Take the 30 seconds to pat thoroughly dry with paper towels
- Using an oven thermometer - Many home ovens run 25-50°F hotter or cooler than their dial indicates. For even roasting, invest in an inexpensive oven thermometer and verify your oven's actual temperature before cooking. This changes everything
- Skipping the resting period - Cutting into a hen immediately after roasting releases all the juices onto the plate rather than keeping them in the meat. Those 20 minutes matter profoundly for texture and juiciness
- Overcrowding the pan - If hens are touching or positioned too close together, steam builds up and prevents browning. Use two pans if necessary. Your oven space is not the limiting factor; heat circulation is