Ingredients
Method
- Ready to get cooking? Let’s break this down step by step. I’ll walk you through each part, ensuring a foolproof experience.
Step 1: Prep Your Ingredients
- Before you heat anything, gather your ingredients. This is essential. Prepping makes cooking smoother. Chop the garlic, measure the honey, and get the butter ready. Having everything set means you won't be running around like a headless chicken (pun intended).
Step 2: Make the Honey Garlic Glaze
- In a medium saucepan, melt the 2 tablespoons of butter over medium heat. As it begins to bubble, add in the minced garlic. Stir it around for about a minute until it becomes fragrant—but be careful not to burn it. Nobody likes burnt garlic.
- Next, pour in the honey and stir until it combines beautifully with the butter and garlic. This will start to bubble slightly. Don’t get too excited—this is the easy part! Add the soy sauce, rice vinegar, and if you’re feeling adventurous, throw in those red pepper flakes. Give it a good mix, then remove it from the heat. Set it aside; this glaze is going to rock your world later.
Step 3: Coat the Chicken
- Now onto the chicken. Sprinkle salt and freshly ground black pepper on both sides of your boneless thighs. In a shallow dish, add the cornstarch. Dredge each piece of chicken in the cornstarch until well-coated. This step is vital for achieving that delightful crispiness.
Step 4: Sear the Chicken
- Heat a large skillet over medium-high heat and add a splash of oil (if you have some on hand, olive oil works wonderfully). Once hot, place the chicken thighs skin-side down into the skillet. You should hear a satisfying sizzle.
- Cook them for about 6–7 minutes until the skin is golden and crispy. This is the part where the delicious aroma fills your kitchen.
- Flip the chicken over and let them cook for an additional 5 minutes. You want them to be beautifully brown on both sides. While this is happening, take a moment to appreciate the sounds—it’s almost like a culinary concert!
Step 5: Add the Glaze
- Once your chicken is cooked through and nearly ready to rock, pour that incredible honey garlic glaze over the top. Let it simmer for another 2-3 minutes. The sauce will thicken slightly and cling lovingly to the chicken.
- Now's the part where your patience is rewarded. As the chicken absorbs the sauce, get ready for a flavor explosion.
Step 6: Serve and Enjoy
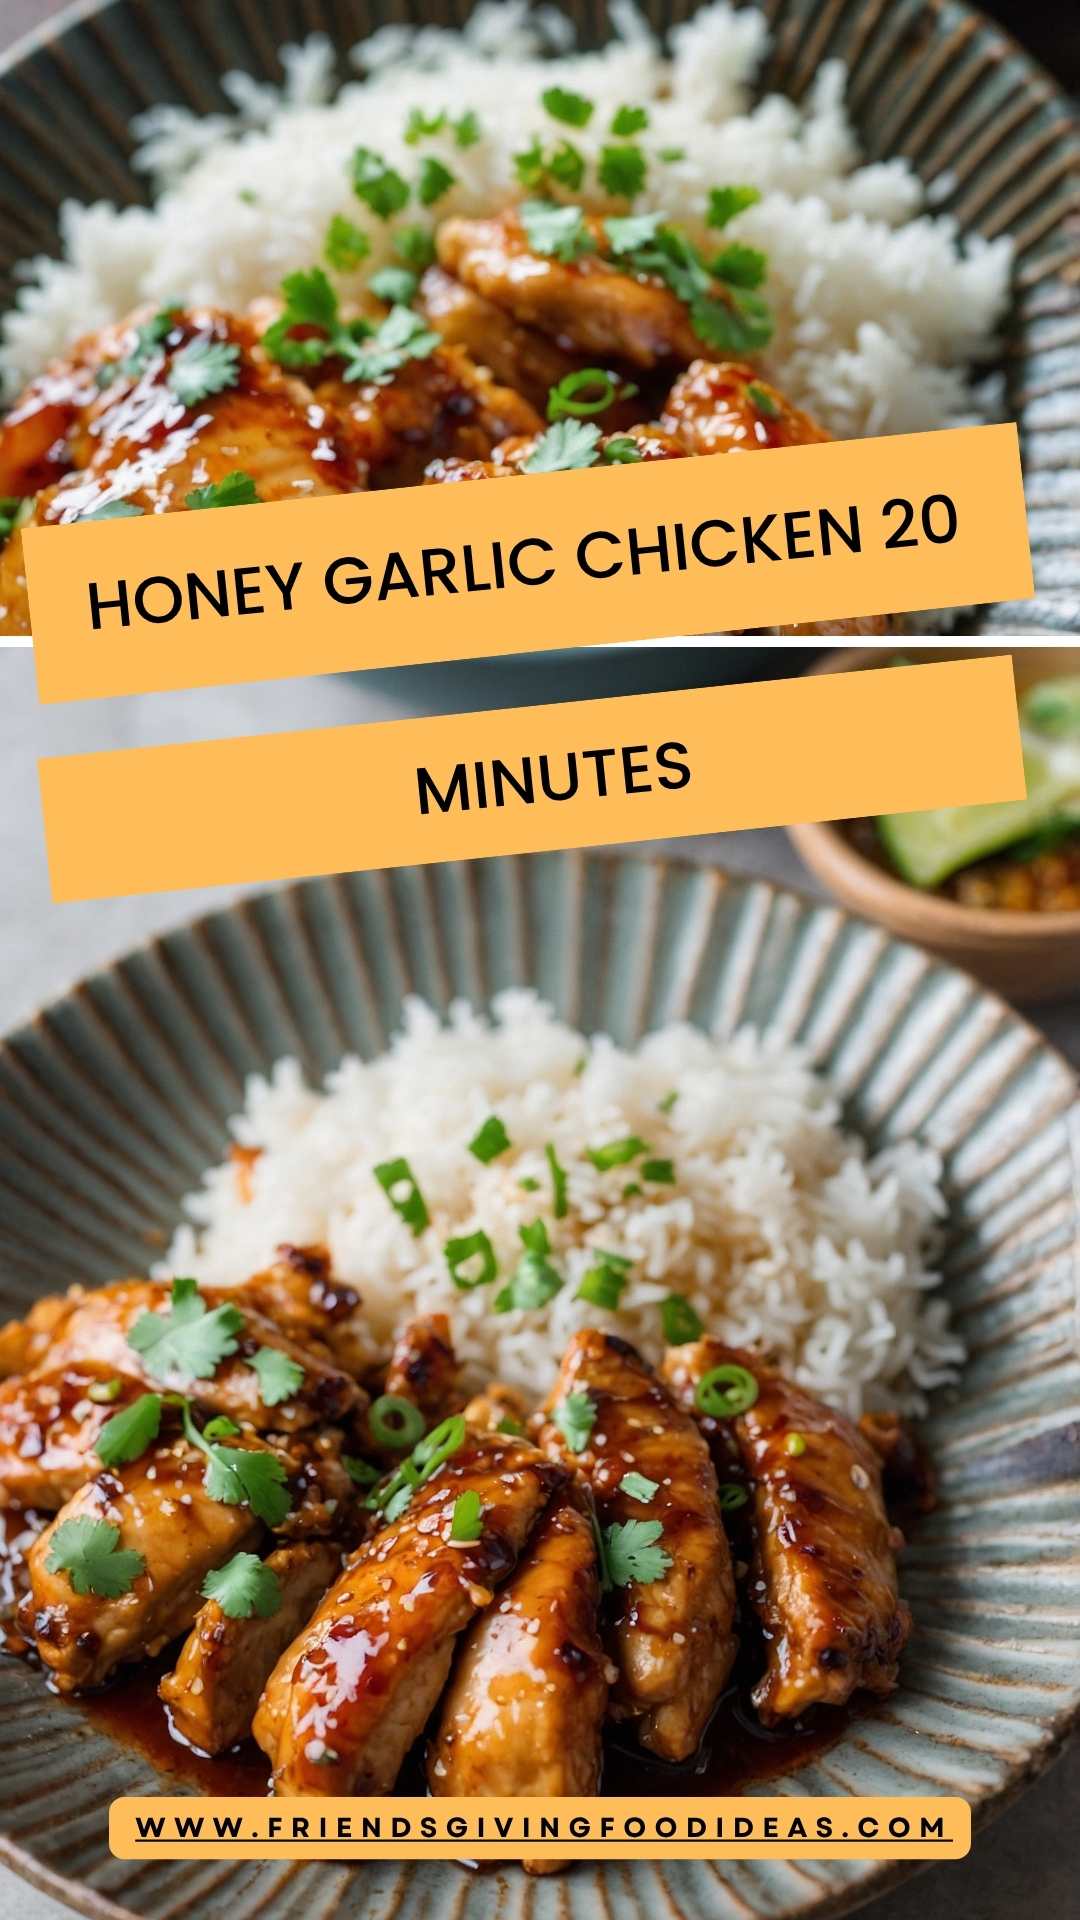
- Remove the skillet from heat. Transfer the chicken to a serving dish, drizzling any remaining glaze over the top. If you want to be fancy (or just show off to your family), garnish with fresh herbs like parsley or green onions.
- This will elevate the dish both visually and mentally—everyone will think you’ve slaved away for hours!
Notes
- Unsalted Butter: I prefer unsalted to control the salt levels, but feel free to use salted if that’s what you have. Just adjust the added salt accordingly.
- Honey: The star of the glaze! Use a quality honey for the best flavor. If you have local honey, even better; it often has a unique flavor profile.
- Garlic: Freshly minced garlic makes a world of difference. Pre-minced garlic from a jar just doesn’t cut it in this recipe.
- Soy Sauce: Using low-sodium soy sauce allows you to create a balanced dish without overwhelming saltiness.
- Cornstarch: This magical ingredient gives that desirable crunch. You can mix it with other flavors like garlic powder or paprika if you want to switch things up.
- Chicken Thighs: Skin-on thighs are preferred for juiciness, but you can use boneless, skinless thighs – just adjust cooking time accordingly.