Ingredients
Method
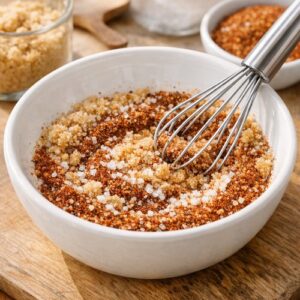
Step 1: Create Your Aromatic Dry Rub Foundation
- In a small bowl, whisk together your BBQ seasoning, light brown sugar, and sea salt. This isn't just flavor—you're creating a scientifically sound dry brine that will help the meat retain moisture during the long cooking process. The salt dissolves slightly and begins curing the meat from the outside in, while the sugar will caramelize beautifully during searing. Generously rub this mixture across all surfaces of your brisket, pressing gently so it adheres to the meat rather than falling off. This is where your dish begins developing its signature flavor profile. I recommend allowing the seasoned brisket to rest at room temperature for one full hour before cooking, or wrapping it carefully in plastic wrap and refrigerating overnight. The overnight method actually improves results—the salt continues its work, and the meat comes to a more even temperature before cooking begins.
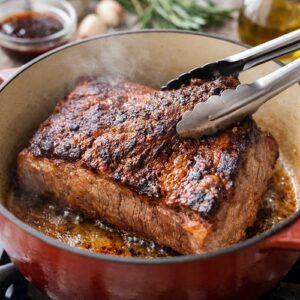
Step 2: Prepare Your Dutch Oven and Sear the Brisket
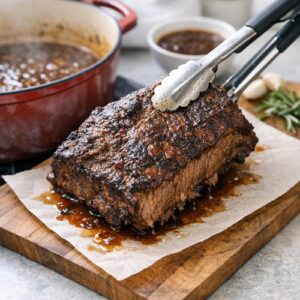
- Preheat your oven to 300 degrees Fahrenheit. This low temperature is essential—higher heat would toughen the exterior while leaving the interior undercooked. While your oven preheats, place your Dutch oven (a heavy, ovenproof pot like Le Creuset or similar quality vessel) on the stovetop over medium-high heat. Add your avocado oil and let it heat until you see a slight shimmer across the surface. Carefully place the brisket, fat-side down, in the hot pan. Listen for that satisfying sizzle—it means the Maillard reaction is beginning. Let it sear untouched for 5 minutes, allowing a deep golden-brown crust to develop. Flip carefully and sear the other side for another 5 minutes. You're not cooking the meat through; you're building flavor. Once both sides are beautifully browned, remove the brisket from the pot and set it aside on a clean cutting board.
Step 3: Build Your Aromatic Braising Base
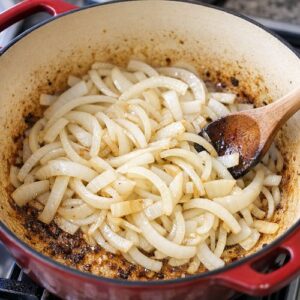
- Without cleaning the pot (those browned bits are pure flavor), add your sliced onions directly to the same Dutch oven, still over medium-high heat. Stir occasionally as they soften and begin to caramelize, about 6 minutes. You're looking for translucent edges and beginning-to-brown surfaces. Add your minced fresh garlic and cook for exactly one minute, stirring constantly. This brief window prevents garlic from burning while allowing its volatile aromatics to perfume your braising base. Remove from heat. Pour your beef broth into the pot, using a wooden spoon or spatula to scrape up all those caramelized bits stuck to the bottom—these fond bits contain concentrated flavor. This deglazing step is traditional for excellent reason—it ensures every molecule of flavor stays in your dish rather than being discarded.
Step 4: Create Your Braising Liquid and Return the Brisket
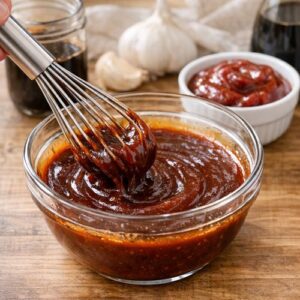
- In a small bowl, whisk together your BBQ sauce, Worcestershire sauce, and soy sauce until completely combined. This mixture will add sweetness, umami depth, and complexity to your braising liquid. Carefully return your seared brisket to the pot, positioning it fat-side up so the rendering fat continuously bastes the meat during cooking. Pour your sauce mixture over the brisket, ensuring it gets distributed around the meat and not just on top. Cover your Dutch oven with its lid—this sealed environment is what creates the magic of Dutch oven cooking. The moisture cannot escape; it circulates back into the meat continuously.
Step 5: The Long, Slow Cook—Where Patience Becomes Delicious
- Transfer your covered Dutch oven to your preheated 300-degree oven. Set a timer for 4 hours. This is when you step back and trust the process. I often use this time to prepare side dishes, set my table, and simply enjoy the anticipation. The low oven temperature allows connective tissue to break down slowly into gelatin without toughening the muscle fibers—this is the exact opposite of what happens with fast, hot cooking. You do not need to stir, flip, or check on this brisket repeatedly. In fact, I recommend resisting that urge. Every time you open the oven door, you're lowering the temperature and extending cooking time. After 4 hours, check for tenderness by piercing the thickest part with a fork—it should yield with minimal resistance. If needed, continue cooking for an additional 15 to 30 minutes, checking every 10 minutes.

Step 6: Rest, Reduce, and Finish Your Sauce
- When your brisket is perfectly tender, carefully remove it from the Dutch oven using tongs and transfer it to a cutting board. This resting period is non-negotiable in traditional preparation—allow your meat to rest undisturbed for at least 15 minutes. During rest, residual heat continues cooking the interior slightly while muscle fibers relax and reabsorb their juices. Resting is the difference between juicy, tender slices and dry, crumbly meat. While your brisket rests, place your Dutch oven with its braising liquid on the stovetop over medium heat. If you prefer a thicker, more sauce-like consistency, whisk together your cornstarch with 1 tablespoon of cold water until smooth, then slowly whisk it into the simmering liquid. Stir constantly for about 5 minutes until the sauce coats the back of a spoon—this optional step creates a velvety texture perfect for serving over grains or potatoes. Taste your sauce and adjust seasonings with additional salt, pepper, or a splash of Worcestershire if needed. The sauce should taste fully developed and complex—savory, slightly sweet, with depth from the long-cooked flavors.
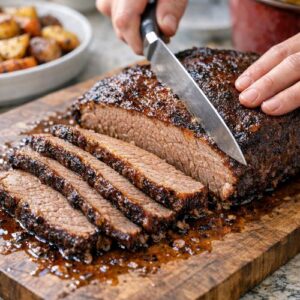
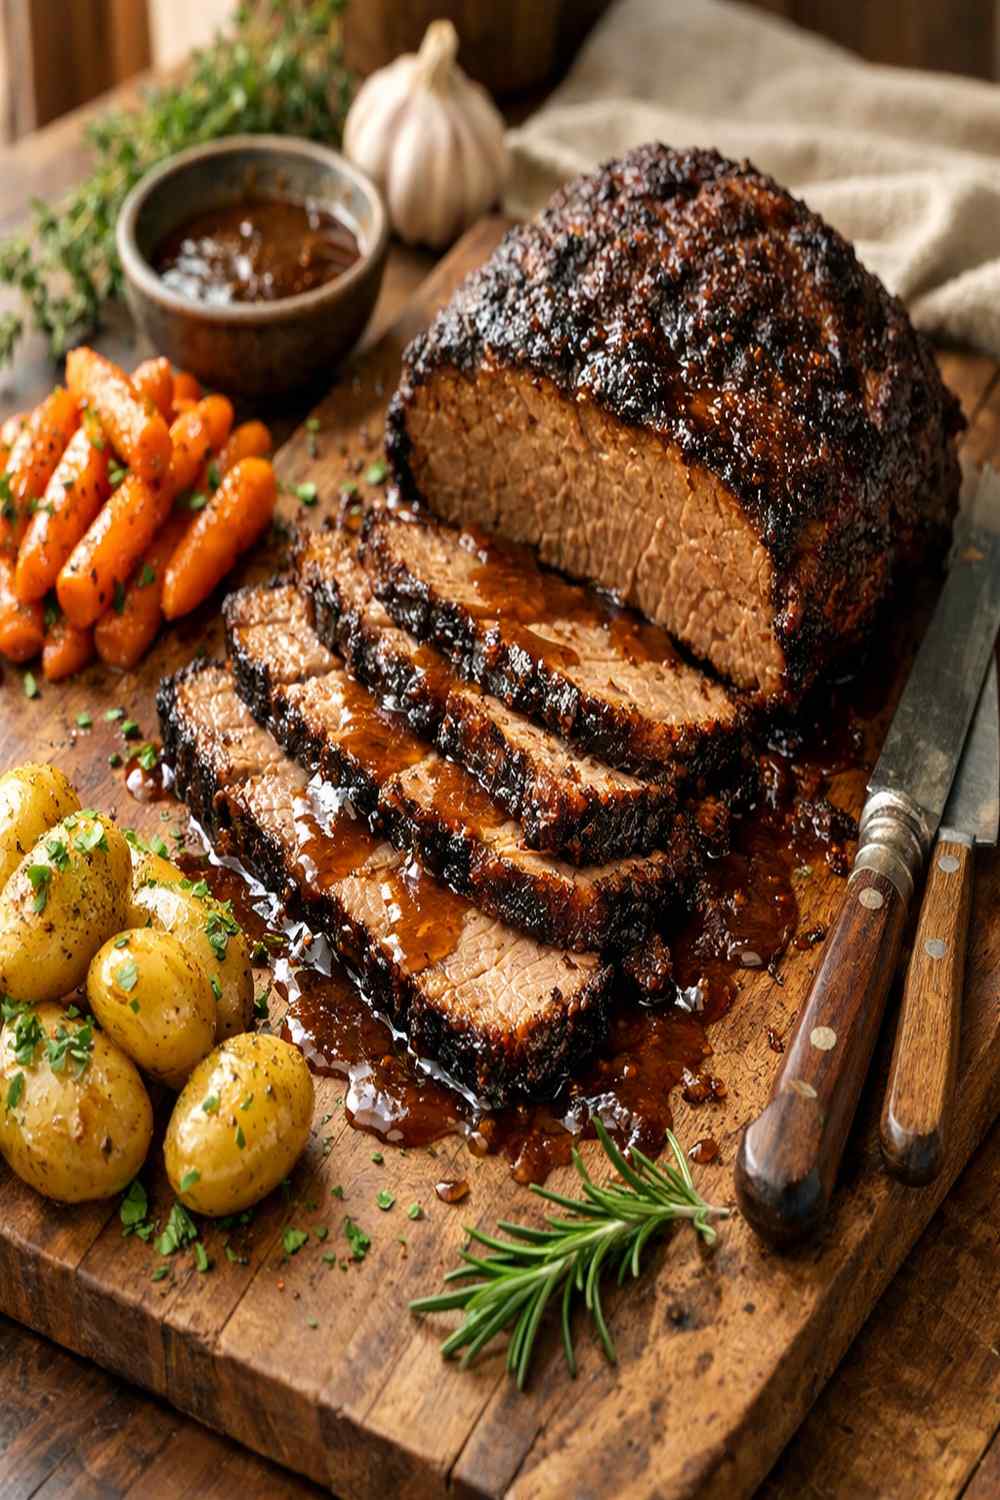
Step 7: Slice with Intention and Serve with Pride
- Slice your brisket against the grain—this is critical for tenderness. The grain runs from one end of the brisket to the other; slicing across it cuts through the muscle fibers rather than along them, creating more tender pieces. Arrange your slices on a serving platter and ladle some of the warm sauce over them, reserving extra sauce for guests to add as they prefer. Present your brisket with the confidence of someone who has created something genuinely special. This is restaurant-quality food made with your own hands.