Ingredients
Method
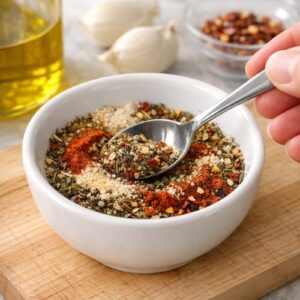
Step 1: Prepare Your Spice Blend and Set Up
- In a small bowl, combine your Italian seasoning, smoked paprika, garlic powder, salt, pepper, and red pepper flakes if using. Give it a gentle stir so everything is evenly distributed. Don't skip this step—mixing your seasonings ahead of time ensures even coverage on the birds. This is something I learned from years of nutrition counseling: when spices are mixed before application, the flavors meld and intensify as they roast. Set your oven to preheat at 425°F. Position your racks so a roasting pan sits comfortably in the center with room for heat circulation around it.
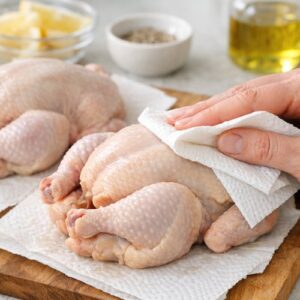
Step 2: Pat Your Birds Completely Dry
- This step is non-negotiable, and I can't stress this enough: dry birds create crispy skin, and crispy skin is what makes people remember this meal. Remove your Cornish hens from their packaging, pat them thoroughly inside and out with paper towels. Don't be gentle—really dry them. Any residual moisture will steam rather than roast, and you'll lose that beautiful golden-brown exterior that makes people say "this looks restaurant-quality." This is the registered dietitian in me speaking: moist skin on poultry is where bacteria thrive during cooking, so the drying also ensures food safety.
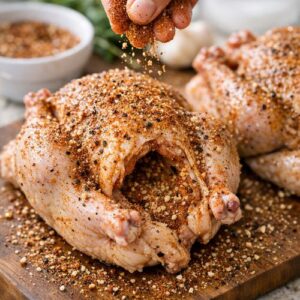
Step 3: Season Your Hens Generously
- Take your prepared spice blend and apply it generously to both birds—outside and inside. This is the moment where you're building flavor, so be intentional and thorough. Rub the seasoning into the skin, getting into any crevices. Lift the wings slightly and season underneath. Reach your fingers into the cavity and coat the inside as well. The inside seasoning might seem odd, but it flavors the bird from within as it roasts. If you have any leftover spice blend, don't waste it—you'll use it later when you make the pan sauce from those beautiful roasted drippings.
Step 4: Build Your Aromatic Bed
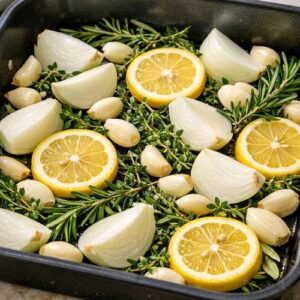
- In your roasting pan, scatter the quartered onion, whole garlic cloves, fresh rosemary sprigs, fresh thyme sprigs, and lemon slices in an even layer. This aromatic bed serves triple duty: it flavors the drippings for sauce, prevents sticking, and keeps the birds elevated so heat circulates underneath. These vegetables will caramelize and become part of your pan sauce if you choose to make one. Don't crowd the pan—you want space around the vegetables for air circulation.
Step 5: Position Your Hens and Drizzle with Oil
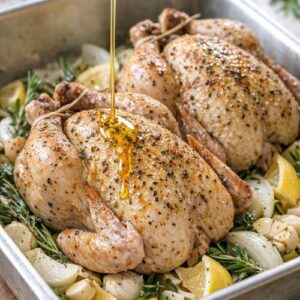
- Nestle your seasoned Cornish hens directly onto the aromatic bed, breast-side up. They should be skin-side up for maximum browning and crispiness. Drizzle the 2 tablespoons of olive oil evenly over both birds. The oil is what creates that gorgeous golden-brown color and helps the seasonings adhere during roasting. There's no need to cover the pan with foil—we want the skin to roast directly and develop that beautiful crust.
Step 6: Roast Until Golden and Cooked Through
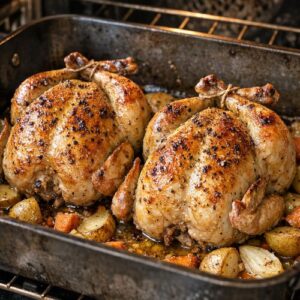
- Transfer your roasting pan to the preheated 425°F oven. Roast for 50 to 60 minutes, depending on the exact size of your birds and your oven's particular personality (every oven has quirks—I learned this years ago when cooking for a family of twelve). The Cornish hens are perfectly cooked when an instant-read thermometer inserted into the thickest part of the thigh (not touching bone) registers 165°F. This is the food safety standard from the USDA, and it's what ensures your guests enjoy perfectly cooked poultry without any worry. If your hens are browning too quickly (they look deep golden at the 30-minute mark), you can loosely tent with foil for the remaining time—but I rarely need to do this. The moderate oven temperature and oil combination usually results in beautiful, even browning without burning.
Step 7: Rest Your Hens (This Step Changes Everything)
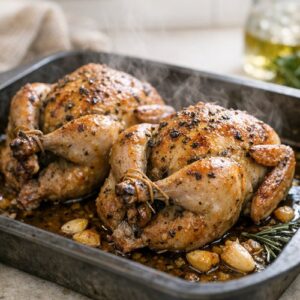
- Remove your roasting pan from the oven and let the birds rest for a full 20 minutes before serving. This is where home cooks often make mistakes, and it's actually the most important step for tender, juicy meat. During resting, the residual heat continues to cook the meat slightly (carryover cooking), and the muscle fibers relax, allowing them to reabsorb juices. A rushed bird served immediately after roasting will lose those precious juices to the plate. A properly rested bird stays moist and tender. I learned this truth the hard way during my early cooking years—and it's transformed every single bird I've made since. While your hens rest, this is the perfect time to plate your sides, pour wine, and mentally prepare for the impressed reactions from your guests. The resting birds will stay warm, and you'll look completely composed and together. That's the hosting magic right there.
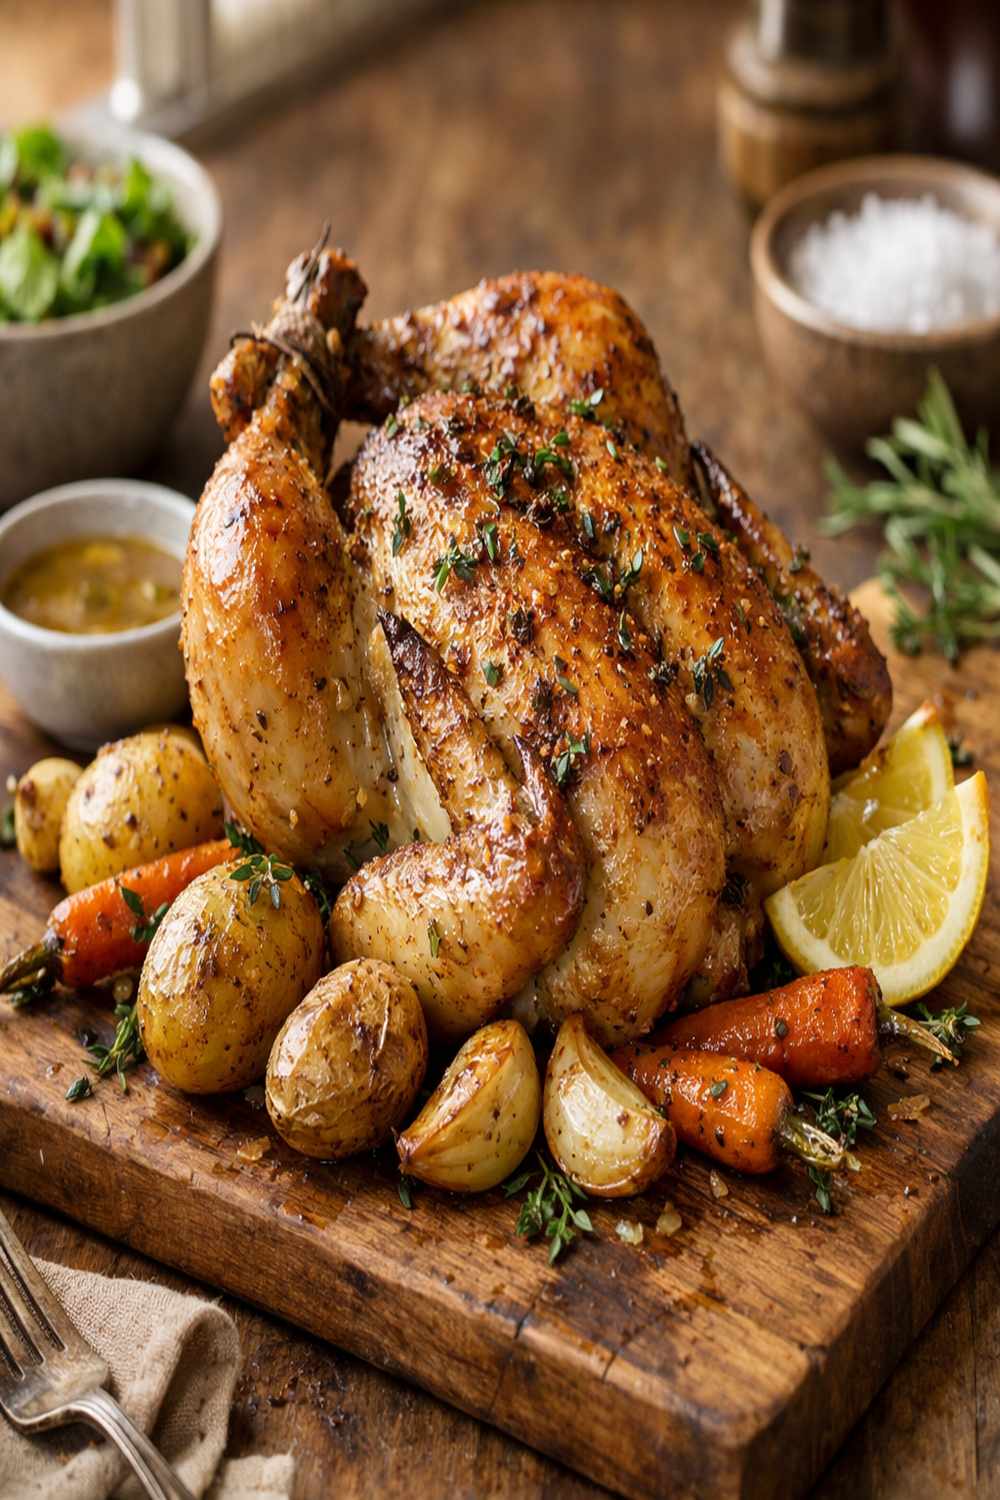
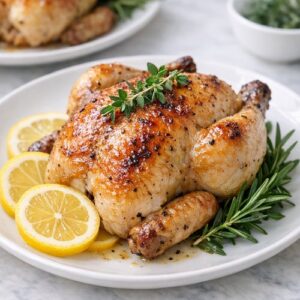
Step 8: Plate and Garnish with Fresh Herbs
- Transfer each rested Cornish hen to its serving plate. Garnish each bird with a fresh sprig of thyme, a few lemon slices, and a small sprig of rosemary. These fresh garnishes aren't just pretty—they signal to your guests that this meal was made with intention and care. The fresh herbs also add pops of color that make the plate visually memorable. Serve over creamy mashed potatoes, alongside roasted vegetables, or with a simple green salad. The beauty of these hens is they're the star of the plate.
Notes
- Mistake 1: Skipping the Drying Step - Wet birds steam instead of roast. Spend two extra minutes with paper towels. It's the difference between golden, crispy skin and pale, flabby skin. This single step elevates the entire dish.
- Mistake 2: Skipping the Resting Period - I understand the impulse to serve immediately (your guests are waiting!), but those 20 minutes are magic. The meat reabsorbs juices and stays moist. Rush this and you'll have dry meat running onto the plate. Wait and you'll have tender, succulent poultry.
- Mistake 3: Using Old Dried Herbs - Dried herbs lose their potency after about 6 months. If your Italian seasoning has been in your cabinet since last year, it won't deliver the flavor this dish deserves. Invest in fresh herbs or refresh your dried spices. Your guests will taste the difference.
- Mistake 4: Overcrowding the Roasting Pan - If you're cooking multiple birds, resist the urge to squeeze them close together. They need space for air circulation to cook evenly and brown properly. Better to use two pans than compromise the results.