Method
Step 1: Prepare Your Camembert for the Oven
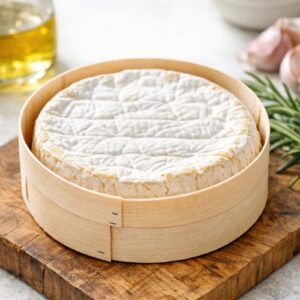
- Remove the camembert from its packaging and place it back into its original wooden box. If your cheese doesn't come in a box (some international varieties use paper wrapping), transfer it to a small ramekin or ovenproof dish instead. This containment is crucial—it keeps the melting cheese contained and makes for an impressive presentation. Secure the box sides with kitchen twine if needed to prevent the cheese from spilling during baking.
Step 2: Preheat Your Cooking Equipment
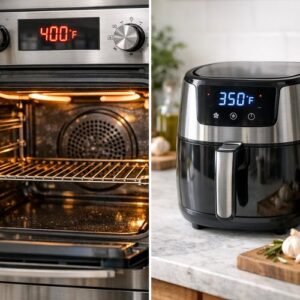
- Heat your oven to 400°F (200°C) or preheat your air fryer to 350°F (180°C). I recommend the oven for gatherings because it gives you more flexibility with timing, but the air fryer works beautifully if you're cooking for a smaller group. Allow about 5 minutes for preheating so your cheese starts melting immediately when it enters the heat.
Step 3: Top and Season Your Cheese
- Using a small sharp knife, make three shallow slashes across the top of the camembert in a crosshatch pattern. This allows the wine and seasonings to penetrate the cheese and helps heat distribute evenly. Drizzle your chosen liquid (wine, vermouth, or kirsch) into the slashes and across the top—don't be shy, about 1 tablespoon is perfect. Arrange your thyme sprigs artfully over the top and finish with a light sprinkle of red chili flakes for visual appeal and subtle heat.

Step 4: Bake Until Gooey and Bubbly
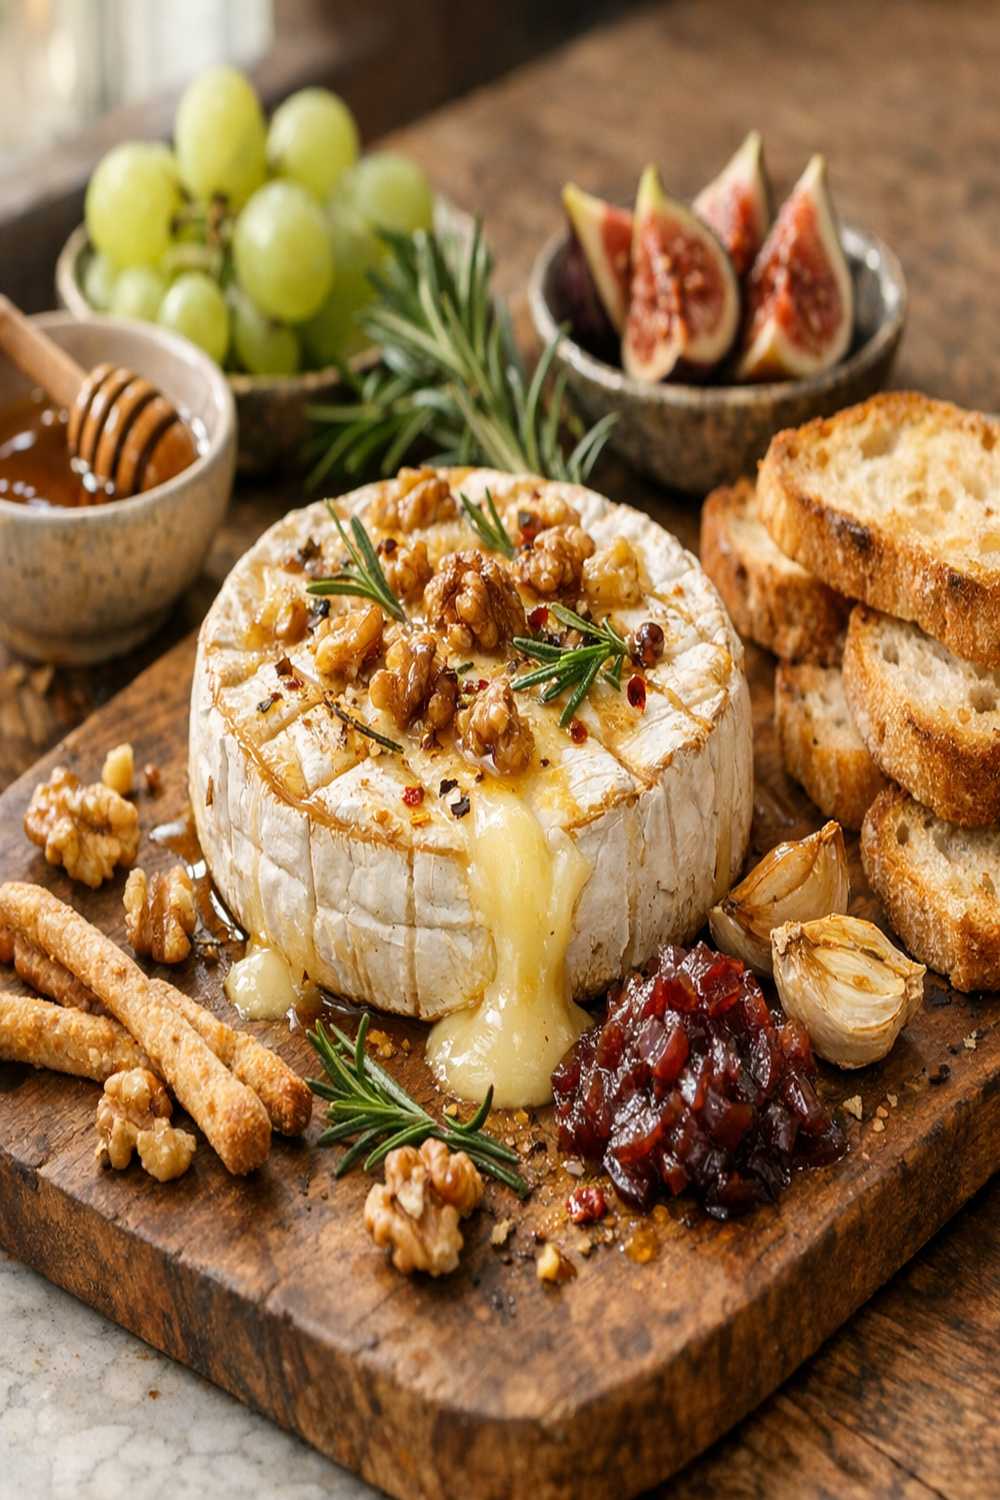
- Place the prepared camembert on a baking tray and bake for 18-20 minutes in a regular oven, or 15-18 minutes in an air fryer, until the cheese is visibly soft and beginning to bubble slightly at the edges. You'll know it's done when a small knife inserted through the crosshatch meets no resistance. The cheese should still hold its shape but be completely melted inside. Serve immediately with your toasted bread and crackers for dipping.

Notes
- Prep camembert the morning of - Unwrap your cheese, place it in its box or ramekin, add the liquid and seasonings, then cover loosely with plastic wrap and refrigerate. This saves 2 minutes when guests arrive. Simply pop it straight from the fridge into a preheated oven—add just 2-3 extra minutes to the baking time since it's cold.
- Toast your bread in advance - Slice and toast your bread up to 4 hours ahead, storing it in an airtight container to maintain crispness. This eliminates last-minute oven juggling when you're managing multiple dishes.
- Pre-portion your accompaniments - If serving with sides like olives, pickled onions, or cured meats, prep these into small serving bowls 2 hours ahead and refrigerate. This creates a visually stunning board with zero last-minute fussing.