Ingredients
Method
Step 1: Cook the Chicken
- Start by seasoning your chicken with salt and pepper. Grab a large saucepan, and place the chicken in it, covering it with water. Bring the water to a gentle simmer. Avoid boiling—just enough heat to cook the chickenthrough. This takes about 15 minutes. Once cooked, remove the chicken from the pot and allow it to rest for a few minutes on a plate. After it cools just a bit, chop it into bite-sized pieces. Don’t forget to save about 1 ¾ cups of the cooking liquid for later!
Step 2: Create the Pot Pie Filling
- Using the same saucepan (seriously, we’re going for minimal cleanup here), add your chopped onions, sliced celery, and butter. Cook these over medium heat for about 5 minutes or until the vegetables become soft and translucent. Stir in the flour, salt, black pepper, onion powder, celery seed, and chicken bouillon paste. This mixture will give your filling a lovely, rich flavor. Gradually whisk in your reserved chicken water and the milk, stirring constantly until the mixture thickens, around 5-7 minutes.
Step 3: Combine Chicken and Veggies
- Next, toss the chopped chicken and frozen vegetables into your thickened sauce. Give it a good stir, tasting and adjusting seasonings with more salt, pepper, or bouillon if needed. This is the time to add that fresh thyme if you’re using it! Set this filling aside to cool. It’s essential that it’s not scorching hot when we pour it into the crust.
Step 4: Preheat and Prepare the Crust
- Preheat your oven to a sizzling 425°F (220°C). Take one of your pie crusts from the fridge and place it on a lightly floured surface. Using a rolling pin, roll the dough out into a circle, roughly 12 inches in diameter. Carefully transfer it to a 9x13 inch baking dish, letting the excess dough hang over the edges for now.
Step 5: Assemble the Pot Pie
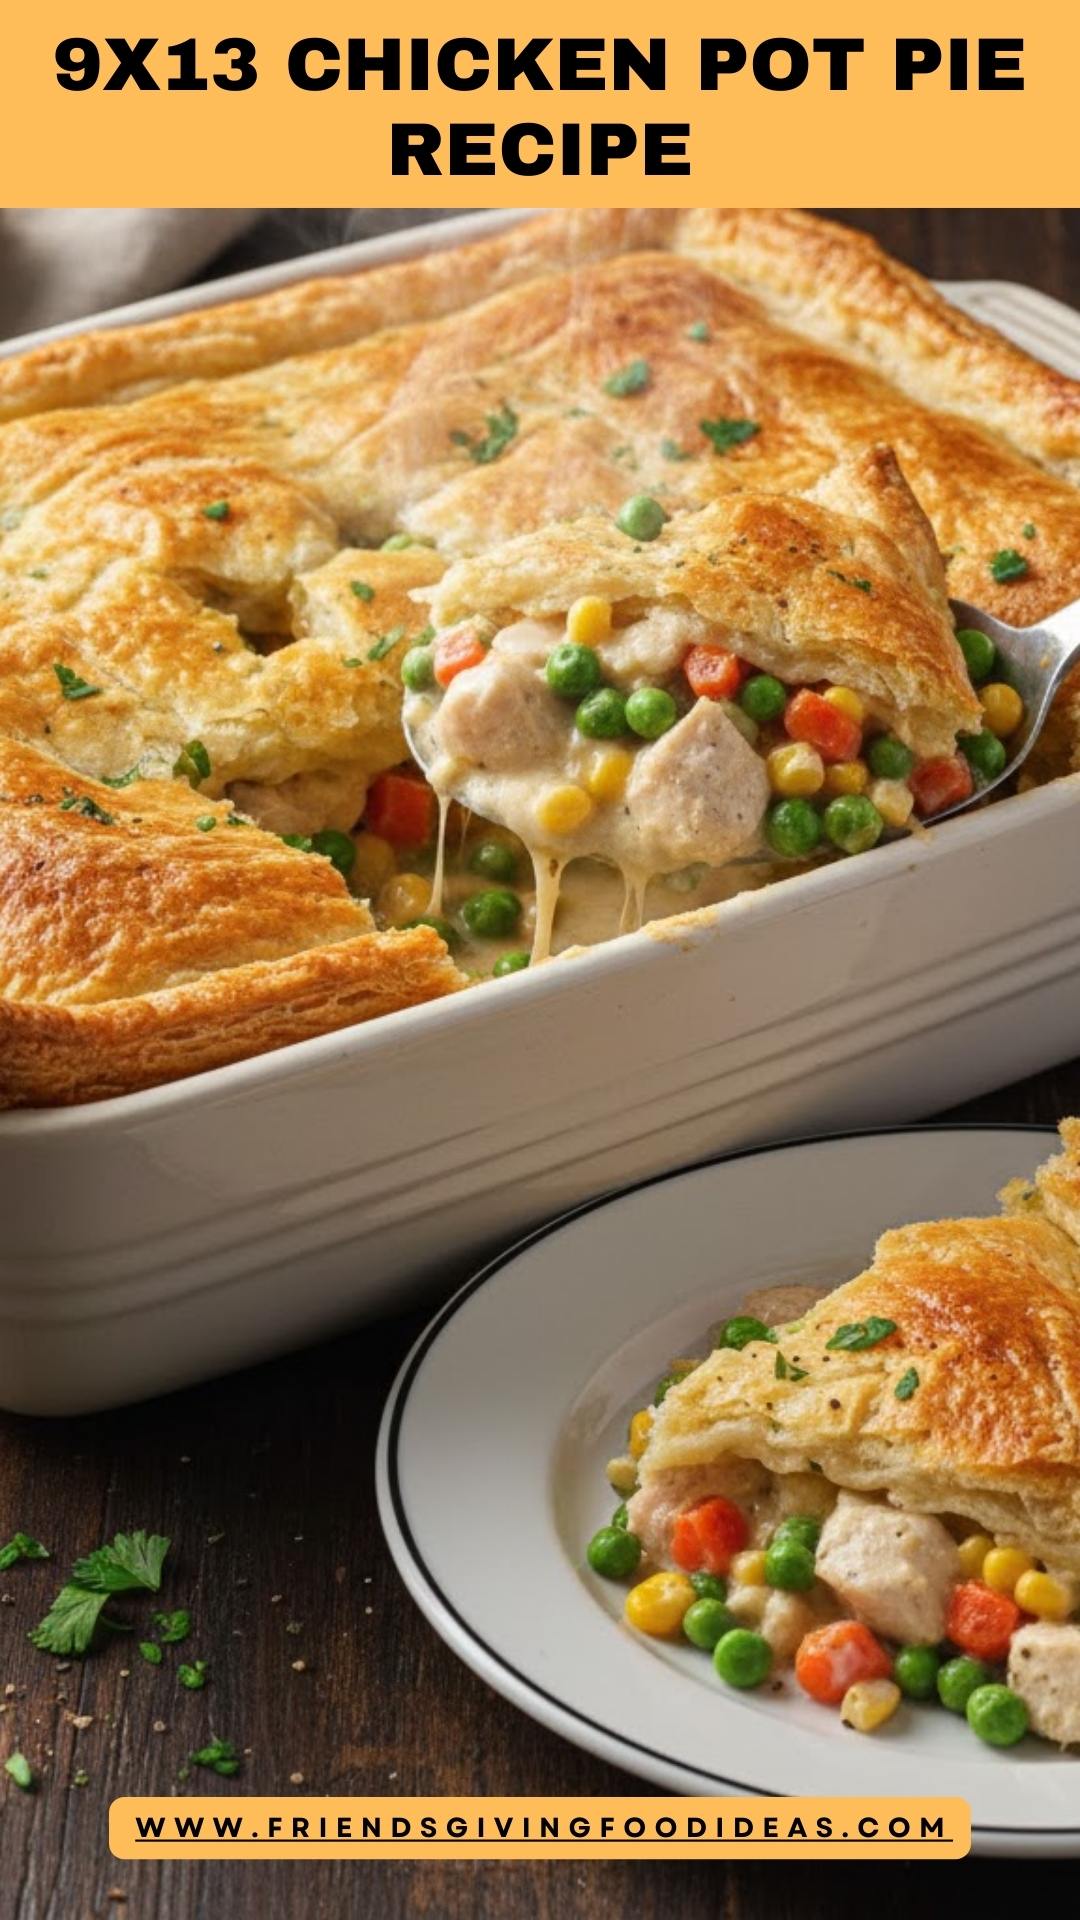
- Pour the cooled chicken pot pie filling into the prepared crust. Now, roll out your second pie crust and place it gently over the filling. Seal the edges by crimping them together with your fingers or a fork. Don’t forget to create a small slit or two on top of the crust. This will help steam escape during baking, making sure your crust stays perfectly flaky.
Step 6: Apply the Egg Wash
- Whisk together the egg and tablespoon of milk in a small bowl. This lovely mixture will help your crust turn golden and beautiful in the oven. Brush a thin layer gently over the top pie crust.
Step 7: Bake It Up
- Slide that pie into the preheated oven and let it bake for about 40-50 minutes. Keep an eye on that crust. If it starts getting too brown, cover it lightly with a piece of aluminum foil. You want it golden and crisp, but not burnt!
Step 8: Rest and Serve
- Once done, pull your chicken pot pie from the oven and let it rest for at least 15-20 minutes before slicing. This little bit of time allows the filling to set, making serving a breeze.
Notes
- Make-Ahead: You can prepare the filling and dough a day ahead. Just store them in the fridge until you are ready to assemble and bake.
- Shortcut Pastry: If time is tight, use store-bought pie crust. It'll save time, and we won’t tell your guests.
- Customize Fillings: Feel free to swap in your favorite vegetables! Broccoli, asparagus, or even some diced potatoes can work beautifully.
- Rich Flavor: Adding a touch of Dijon mustard to the filling helps brighten flavors.
- Gluten-Free Option: Substitute the pie dough with a gluten-free variety to make it friendly for all diets.